

Fall Cleanup – Wrapping Trees
Getting Your Trees & Shrubs Ready for Winter
Newly planted evergreens should be wrapped with burlap during their first winter to protect them from Ontario’s cold, drying winds. Established plants generally don’t need annual wrapping unless they’re in an exposed location or subject to heavy snow load. Leave burlap in place until at least mid-April. Removing it too early during a mild stretch is one of the most common mistakes homeowners make.
If you’ve ever watched a once-healthy evergreen turn brown over winter, drying winds are usually to blame. Cold air moving across exposed needles pulls out moisture that the plant can’t replace when the ground is frozen, and the result in spring is the kind of browning that doesn’t recover. The good news is that a bit of burlap and some twine, properly applied before the cold sets in, prevents most of it.
Here’s exactly how we approach wrapping and tying trees and shrubs for winter at A Touch of Dutch Landscaping, after years of preparing gardens across Stratford, St. Marys, and Perth County for the season ahead.
Does every evergreen need to be wrapped?
Not necessarily, and wrapping unnecessarily adds work without benefit. As a general rule, we wrap evergreens during their first winter after planting, and generally don’t wrap them after that.
The reason the first year matters so much is that many of the evergreens sold at Ontario garden centres are grown on the west coast of Canada or the United States, where winters are considerably milder. When those plants arrive here, they haven’t yet adjusted to the harsher conditions of Southwestern Ontario, particularly the cold, drying east and west winds that we get through January and February. A young spruce or cedar planted in the open is especially vulnerable during that first winter before it’s had a chance to settle in and harden off to local conditions.
After the first growing season, healthy established evergreens typically handle Ontario winters without help. The exception is plants in particularly exposed or windy locations, or larger cedars and yews that grow under a roofline where snow load can become a problem.
What you’ll need
The materials are simple and inexpensive:
- Heavy burlap – heavier weight holds up better through wind and wet than lightweight fabric. Available at most garden centres, hardware stores, and co-op stores in the area.
- Garden twine or string – for tying burlap around individual plants and for tying branches on larger shrubs.
- Wooden stakes – needed if you’re protecting a cedar hedge or a long row of shrubs.
- Staple gun – useful for attaching burlap to stakes on a hedge.
How to wrap small evergreens
For a small plant – a young spruce, a newly planted cedar, or a compact boxwood – the process is straightforward. Cut a piece of burlap large enough to drape over the entire plant with some overlap at the base. Hang it over the top so all sides are covered, then tie it securely at the bottom with twine. That’s really all there is to it. The goal is to block the wind from reaching the foliage on all sides. The plant doesn’t need to be sealed completely, just shielded.
How to wrap taller evergreens
Once plants get to five, six, or seven feet tall, a single drape of burlap may not be practical. You have two good options:
Wrap horizontally. Starting from the bottom, wrap the burlap around the plant in overlapping horizontal layers, working your way up. Tie it off as you go to hold it in place.
Drape and tie multiple pieces. For wider plants, drape two or more pieces of burlap over the top from different angles, then tie them together where they overlap.
If the plant already has a support stake in the ground – which many newly planted trees do – use it to your advantage. You can anchor and tie the burlap to the stake, which makes the whole process faster and more secure.
Whichever method you use, the goal is the same: make sure all sides of the plant are protected from wind and blowing snow, with no large gaps where cold air can funnel in.
How to protect a cedar hedge
Wrapping each plant individually in a long cedar hedge of ten, fifteen, or twenty plants is impractical. Instead, we build a simple burlap screen along the outside of the hedge.
Drive wooden stakes into the ground about four feet apart along the length of the hedge. Attach burlap to the stakes (a staple gun makes this fast) and run it along the full length. You don’t need to enclose the top; as long as the burlap reaches at least as high as the cedars, it will block the wind adequately. Keep stakes no more than four feet apart. Further than that and the burlap will sag or catch too much wind and pull free.
Once it’s up, leave it for the season. It requires no maintenance through the winter.
Tying larger cedars and yews to prevent snow damage
For larger, established cedars and yews, particularly ones growing close to a building where they’re likely to catch snow sliding off the roofline, burlap wrapping isn’t always the right solution. Instead, we tie the branches together with twine to keep heavy snow from splitting the plant open or bending branches permanently out of shape.
Start at the base of the plant, tie the twine onto a lower branch, and then spiral it upward around the plant, gently gathering the branches as you go, until you reach near the top. Keep it snug enough to hold the shape, but not so tight that you’re compressing the branches hard against each other. You want some airflow to continue moving through the plant. This technique works particularly well for columnar cedars, arborvitae, and upright yews.
When to take the burlap off in spring
This is where a lot of homeowners undo all their fall work, taking the burlap off too early.
It’s tempting on a warm day in late February or early March, when it genuinely feels like spring has arrived. But in Ontario, cold winds can return well into the end of March, and those winds are just as capable of browning out needles as anything that came earlier in winter. If the burlap comes off too soon, all the protection it provided becomes irrelevant.
Our rule: leave burlap on until at least mid-April. The twine used to tie branches can generally come off a bit earlier – significant snowfall is unlikely after the first of April – but the burlap wrapping on the foliage itself should stay in place until the worst of the wind risk has genuinely passed.
That said, don’t leave it on too long either. Once plants start pushing new growth in spring, having burlap restricting that growth does more harm than good. Mid-April is usually the right window – late enough to be safe, early enough to let the plant breathe and grow.
Step-by-step summary
- Wrap newly planted evergreens in their first winter. Established plants generally don’t need it
- Use heavy burlap for better durability through wind and wet weather
- Small plants: drape and tie at the base
- Taller plants: wrap horizontally in layers, or drape multiple pieces and tie together
- Cedar hedges: stake-and-burlap screen along the outside, stakes four feet apart
- Large cedars and yews near rooflines: tie branches with twine from bottom to top
- Leave burlap in place until mid-April, but remove twine after April 1
- Remove all protection before active spring growth begins
Frequently asked questions
Do evergreens need to be wrapped every winter in Ontario?
No. Established evergreens generally do not need to be wrapped every winter. Wrapping is most important during the first year after planting, when the plant is still acclimatizing to local wind exposure and climate conditions. After the first growing season, healthy established evergreens typically don’t require burlap protection unless they are in a particularly exposed location.
Why do newly planted evergreens need winter wrapping?
Many evergreens sold in Ontario are grown on the west coast of Canada or the United States, where winters are significantly milder. When transplanted to Southwestern Ontario, they haven’t yet adjusted to local winter conditions, particularly the cold, drying winds that can pull moisture from the needles and cause browning. Wrapping during the first winter protects the plant while it adjusts to its new environment.
How do you wrap a cedar hedge for winter in Ontario?
For a cedar hedge, drive wooden stakes into the ground approximately four feet apart along the outside of the hedge. Attach burlap to the stakes along the full length and staple it in place. The top doesn’t need to be enclosed. Just make sure the burlap reaches at least as high as the cedars. Keep stakes no more than four feet apart to prevent the burlap from sagging or blowing loose.
When should you remove burlap from trees and shrubs in spring?
Leave burlap on until at least mid-April in Ontario. Cold winds can return through late March and cause the same needle browning the burlap was protecting against. Twine used for tying branches can generally come off after April 1. Remove all protection before plants begin actively growing to avoid restricting new growth.
What kind of burlap should I use to wrap trees for winter?
Use a heavier-weight burlap. It holds up better through wind and wet weather than lightweight fabric. Heavy burlap is available at most garden centres, co-op stores, and hardware stores in Ontario.
Should you wrap boxwoods and yews for winter in Ontario?
Yes, boxwoods and yews benefit from winter protection, particularly in their first few years or if planted in exposed locations. Drape burlap over the plant and tie it at the base. This protects foliage from drying winter winds without completely restricting airflow.
Questions about getting your garden ready for winter?
A Touch of Dutch Landscaping provides fall garden cleanup, winterizing, and plant protection services in Stratford, St. Marys, Mitchell, Shakespeare, and across Perth County.
Get in touch →
A Touch of Dutch Landscaping · Stratford, Ontario
Serving Stratford, St. Marys, Mitchell, Shakespeare, and Perth County, Ontario.

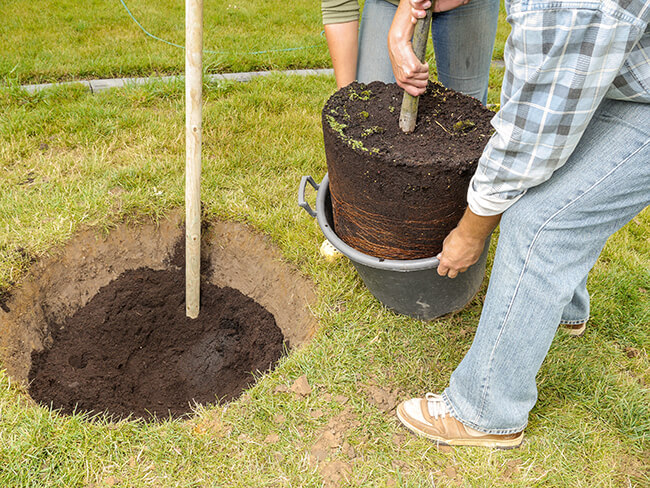 Initial Watering: Immediately after planting or transplanting, water the tree thoroughly. This helps settle the soil and eliminate air pockets around the roots.
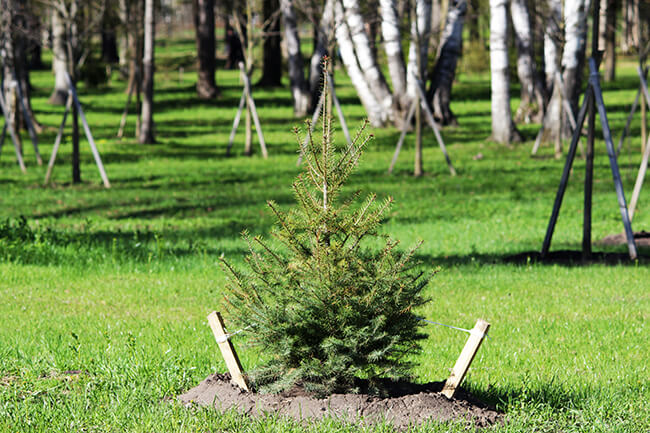 When to Fertilize: Avoid fertilizing immediately after planting. Wait until the tree shows signs of new growth, which indicates it has begun to establish its roots.
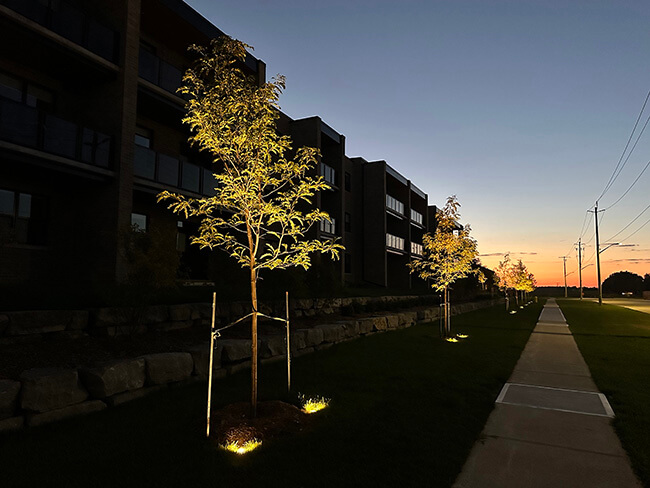 Staking: Young trees may need to be staked to protect them from strong winds, especially in exposed areas. Use flexible tree ties that allow some movement, promoting a stronger trunk.
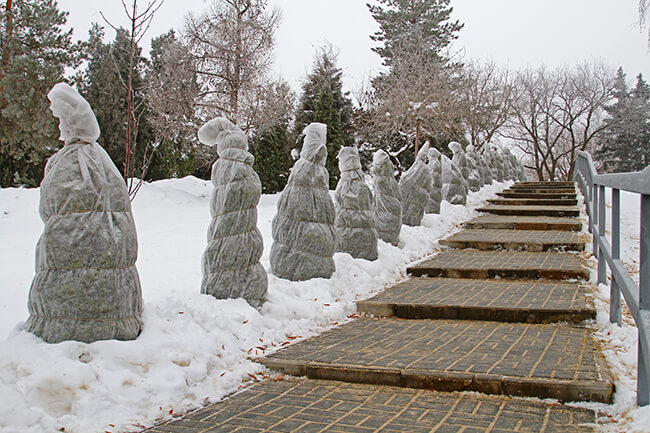 Frost Protection: In areas prone to frost, new
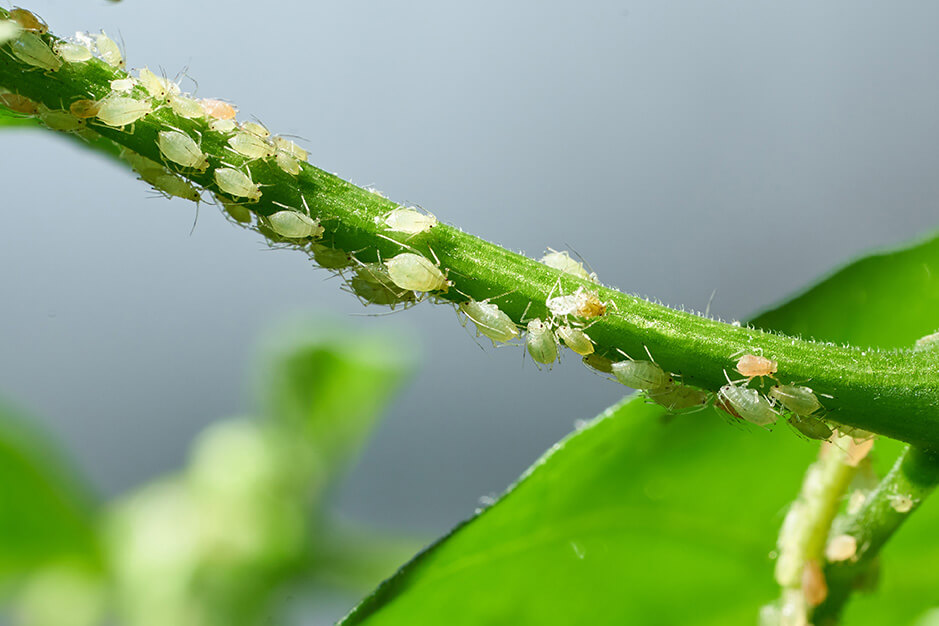
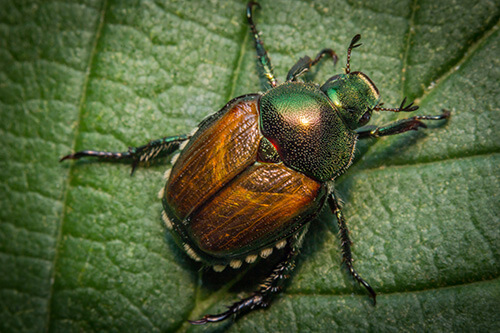 Japanese beetles were introduced from Japan in the early 20th century and have since made themselves at home in Southwestern Ontario. These beetles have a metallic green color with copper-colored wings and are often found munching on the leaves of roses, grapes, and fruit trees.
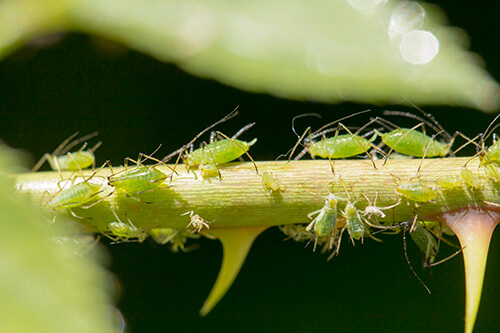 Aphids are native to North America and thrive in our temperate climate, reproducing rapidly and infesting a wide range of plants. This makes Aphids one of the most common among the common lawn and garden pests in our region. Look for clusters of small, green, pear-shaped insects on plant stems and new growth of various garden plants, including roses, vegetables, and fruit trees.
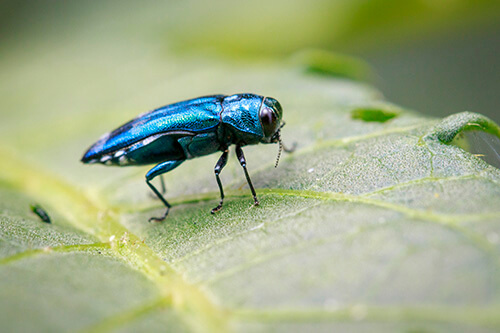 Native to Asia, emerald ash borers arrived in North America in the early 2000s and have devastated ash tree populations. Look for D-shaped exit holes in ash tree bark, canopy dieback, and S-shaped larval galleries under the bark.
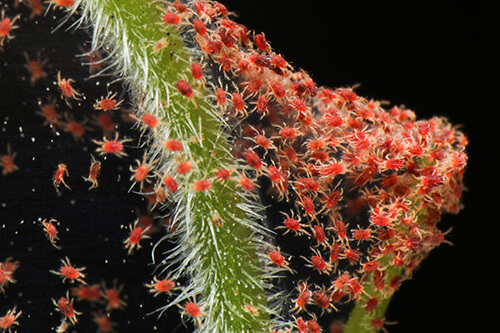 Spider mites are native to North America and thrive in warm, dry conditions, rapidly infesting plants. Look for fine webbing on the undersides of leaves and stippling or discoloration on foliage of garden plants, including tomatoes, beans, and ornamentals.
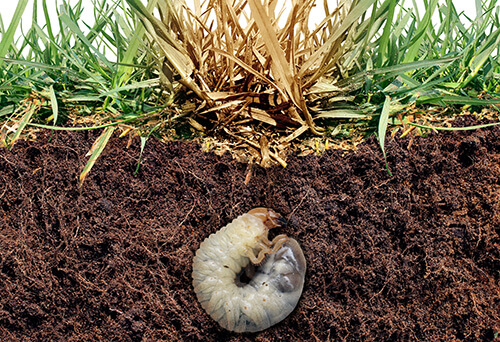 These soil-dwelling larvae are the immature stage of beetles like Japanese beetles, and they primarily feed on grass roots. Look for patches of dead or dying grass, which may indicate white grub infestation.
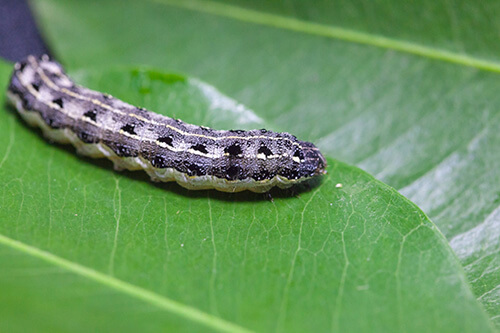 Cutworms are native to North America and are nocturnal pests that feed on young seedlings at or below ground level. Look for seedlings that have been cut off at the base.
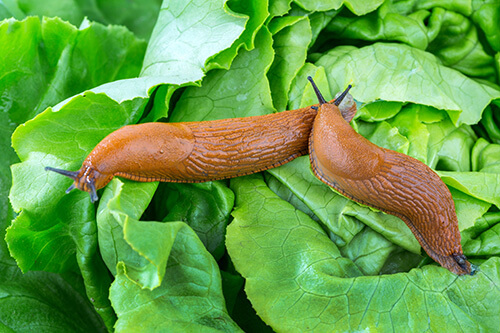 Slugs and snails are native to the region and are nocturnal pests that feed on plant foliage and tender shoots of a range of garden plants. Follow slime trails and look for irregular holes in leaves.
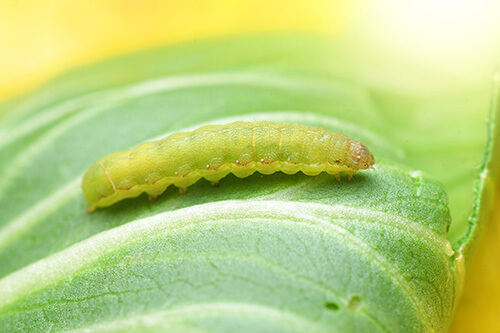 Cabbage worms are native to North America and are the larval stage of small white butterflies. As their name implies, they feed on brassica crops. Look for green caterpillars on cabbage family plants (cabbage, broccoli, kale), causing chewing damage to leaves.
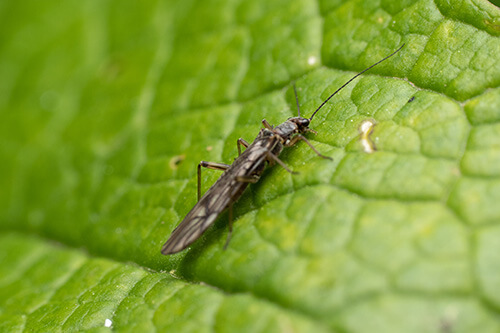 Thrips are native insects that feed on the sap of garden plants, including roses, onions, and peppers. They can transmit diseases to a wide range of plants. Look for tiny, slender insects and silvery patches on leaves.
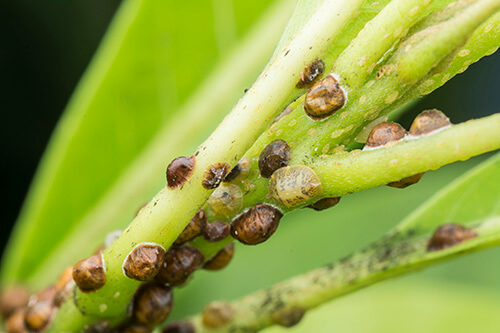 Scale insects are native to North America and can weaken or kill plants by feeding on sap and excreting honeydew of ornamental and fruit-bearing trees. Look for small, immobile insects on stems and leaves, often surrounded by a protective shell.
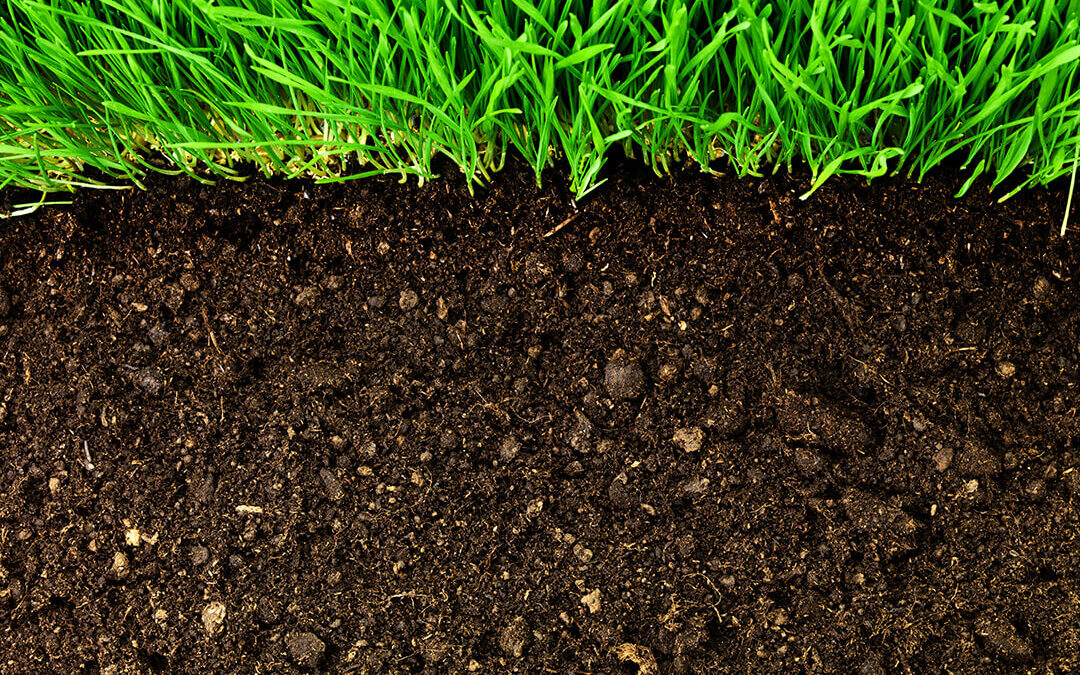
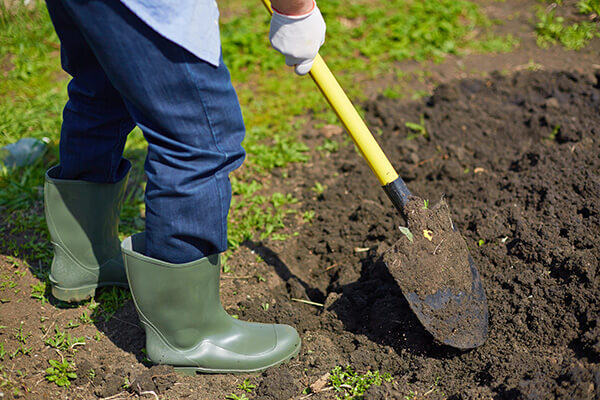 The soils in Southwestern Ontario are diverse, shaped by various factors including climate, parent material, and topography. Common soil types include clay, loam, and sandy soils. Each soil type has unique characteristics that affect water retention, drainage, and nutrient availability.
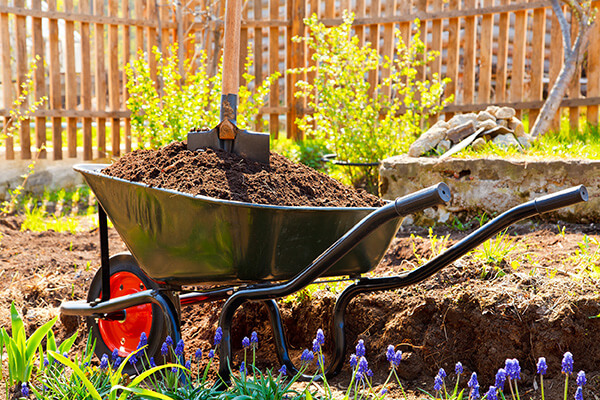 Selecting the appropriate plants for your soil type is crucial for a thriving landscape in Southwestern Ontario:
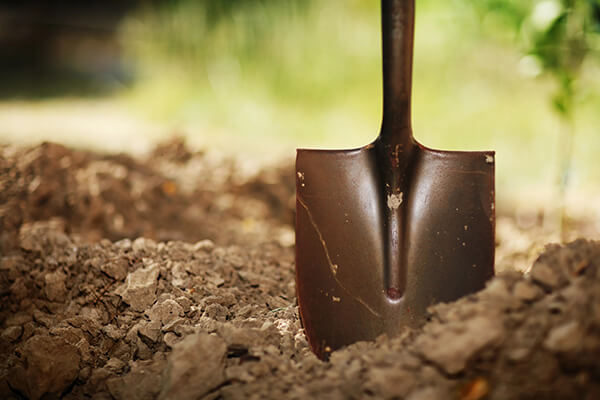 Homeowners in Southwestern Ontario can proactively improve soil conditions to meet their landscaping needs. Here are some suggestions:

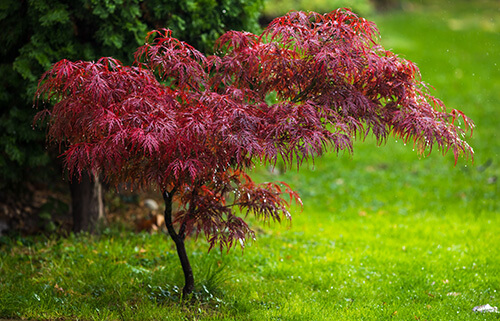 Japanese Maple
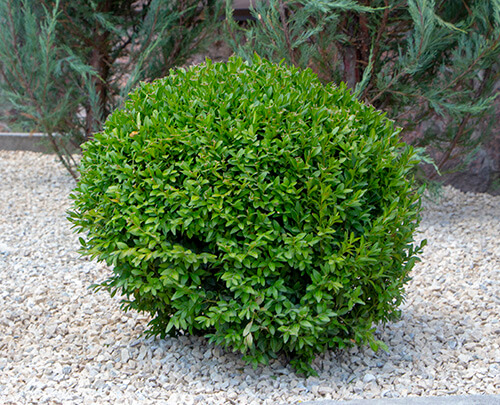 Boxwood
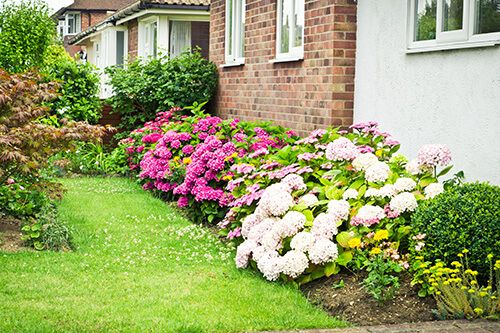 Rhododendrons and Azaleas
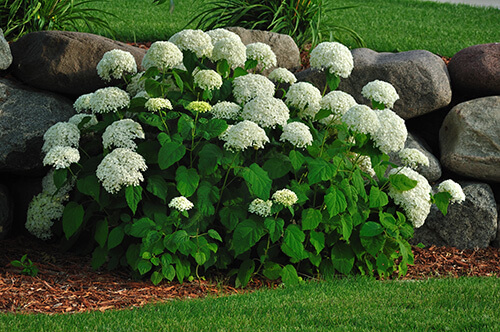 Compact Hydrangea
 Assessment and Safety Considerations
 Fertilization and Hydration