Soil Types and Landscaping
Landscaping that not only is not only beautiful but healthy depends heavily on the quality of the soil that provides a landscape’s foundation. As in most places, Southwestern Ontario’s distinct regional climate and geological conditions shape the native soils. In this blog post, we will explore the connection between soil types and landscaping, delve into the characteristics of Southwestern Ontario soils, and discuss how homeowners can improve soil conditions in their own landscapes.
The Significance of Soil in Landscaping
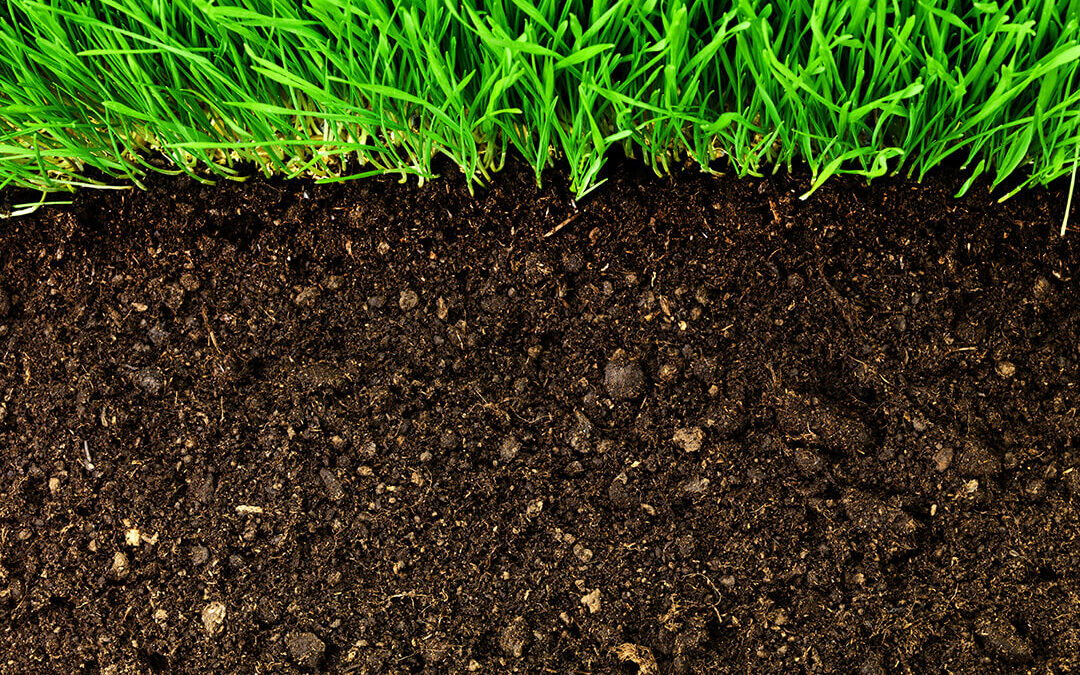
Soil serves as the lifeblood of any garden, influencing plant health, growth, and overall ecosystem balance. Its physical, chemical, and biological properties contribute to water retention, nutrient availability, and microbial activity – all crucial factors for a flourishing landscape. Properly managed soil can enhance plant resilience, reduce erosion, and create a sustainable and visually appealing outdoor space.
Southwestern Ontario Soils
 The soils in Southwestern Ontario are diverse, shaped by various factors including climate, parent material, and topography. Common soil types include clay, loam, and sandy soils. Each soil type has unique characteristics that affect water retention, drainage, and nutrient availability.
Clay Soil
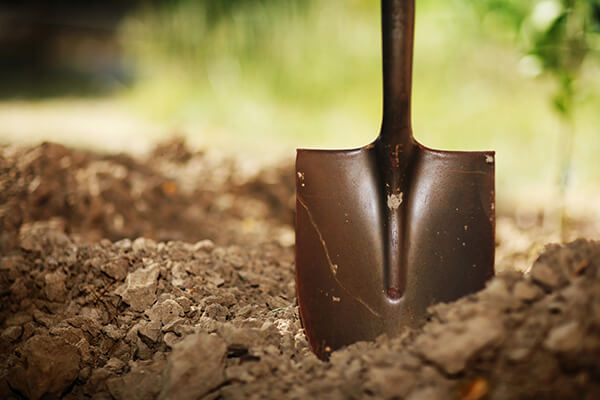
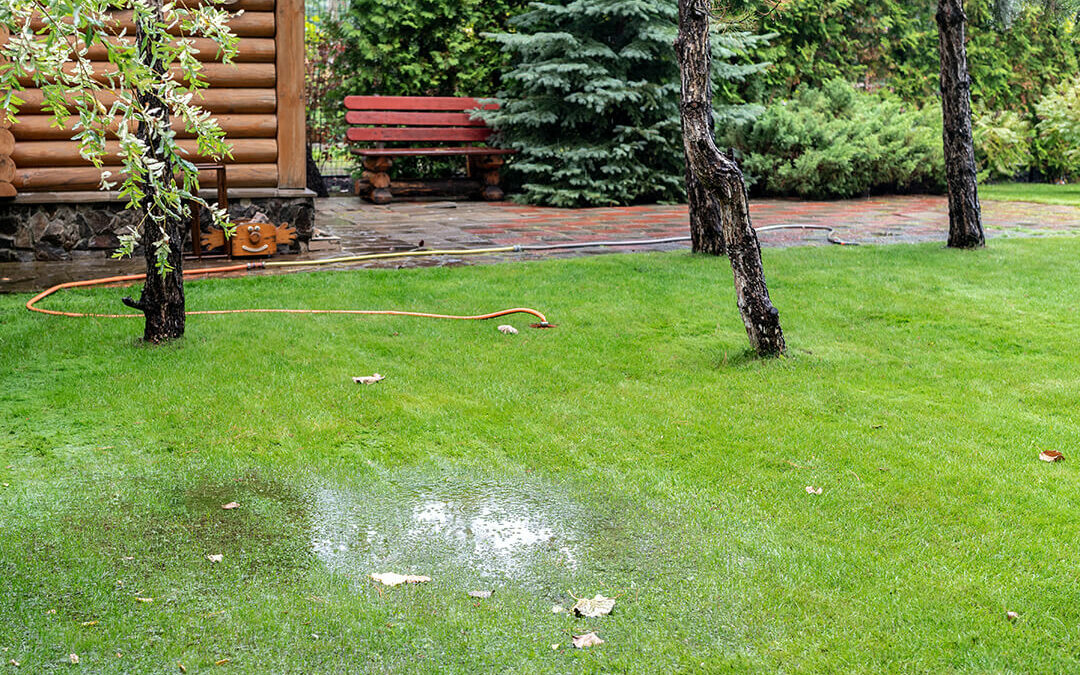
Clay soils are heavy and compacted, which allows them to retain water well. However, they can also result in poor drainage and aeration. To improve clay soil, adding organic matter such as compost can enhance its structure and drainage. Simply adding sand to dry soil can also improve drainage, as can adding garden lime. Clay soil comprises a significant proportion of the soils in our region.
Loam Soil
Loam soil is a well-balanced combination of sand, silt, and clay. It is ideal for gardening due to its excellent water retention and drainage properties. Regular addition of organic matter helps maintain its fertility.
Sandy Soil
Sandy soils consist of larger particles that drain quickly. However, they struggle to retain water and nutrients. Adding organic matter, such as compost or well-rotted manure, can improve water retention and fertility.
Best Plants for Different Soil Types
 Selecting the appropriate plants for your soil type is crucial for a thriving landscape in Southwestern Ontario:
Clay Soil
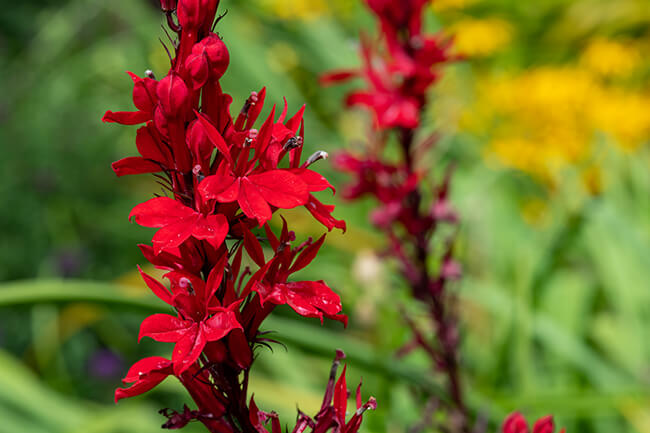
- Plants that tolerate wet conditions: Redtwig dogwood, summersweet, and cardinal flower
- Drought-tolerant options: Russian sage, yarrow, and black-eyed Susan
Loam Soil
- Versatile options: Daylilies, coneflowers, and ornamental grasses.
- Shade-loving plants: Hostas, astilbes, and ferns.
Sandy Soil
- Drought-tolerant plants: Lavender, sedum, and coreopsis.
- Acid-loving plants: Azaleas, blueberries, and rhododendrons.
Even if you have soil that is unsuitable for a particular tree or plant you desire to include in your landscape, you don’t have to give up on the idea entirely. It will require some effort to amend the soil to adequately sustain the chosen specimen.
Amending Soil Conditions
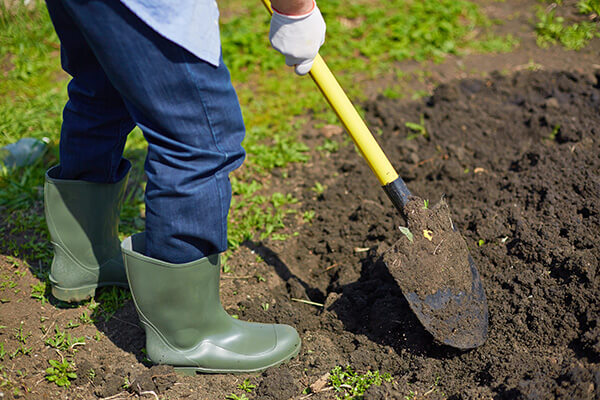
 Homeowners in Southwestern Ontario can proactively improve soil conditions to meet their landscaping needs. Here are some suggestions:
Adjusting Acidity
- Test the soil pH using a home testing kit.
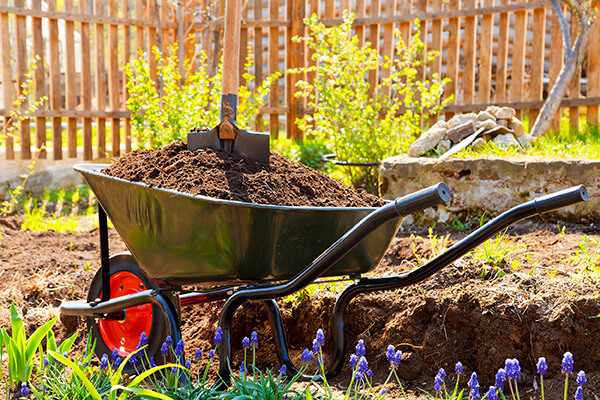
- To increase acidity, incorporate organic matter like pine needles, peat moss, or sulfur.
- To decrease acidity, introduce lime into the soil.
Improving Drainage
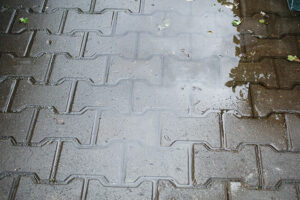
- For clay soils, add organic matter, garden lime, or sand to enhance aeration and drainage.
- For sandy soils, mix in compost to improve water retention.
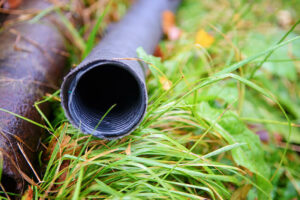
- Consider installing raised beds or French drains in poorly draining areas.
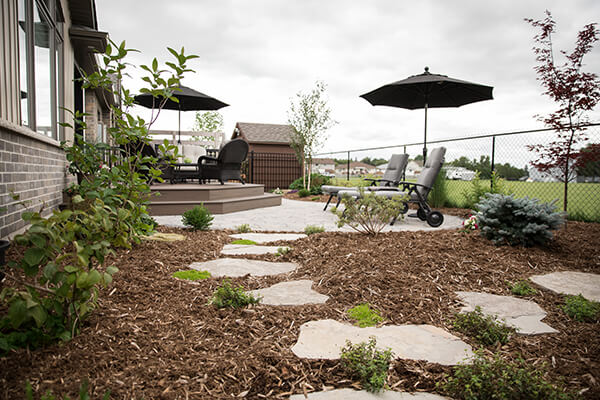
Homeowners in Southwestern Ontario can achieve a beautiful and sustainable outdoor space by understanding the unique characteristics of their soils and implementing thoughtful improvements. By selecting appropriate plants and maintaining healthy soil conditions, they can create a vibrant and resilient garden that enhances the beauty of their homes while positively contributing to the local ecosystem.

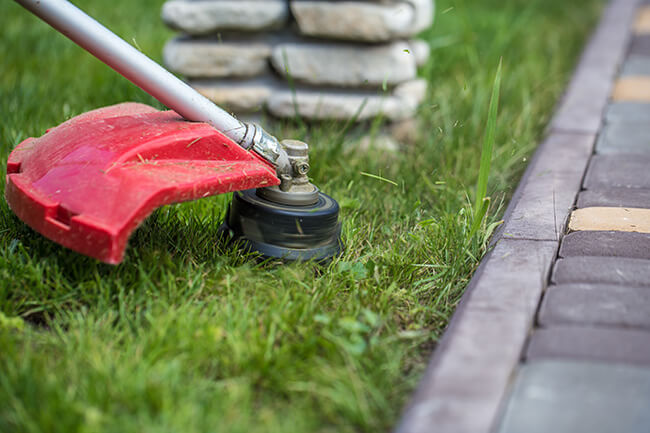 Investing in quality lawn care equipment is essential to achieve professional results. A sturdy lawnmower with sharp blades is a must. Whether you prefer a traditional gas-powered mower or an eco-friendly electric one, make sure it suits the size and terrain of your lawn. Additionally, consider acquiring a string trimmer, also known as an edger, for detailing and reaching areas that the lawnmower can’t easily access.
 Dull mower blades tear the grass rather than cutting it cleanly. This can lead to a brownish, uneven appearance on the lawn’s surface. Regularly sharpen your lawnmower blades to ensure a precise and neat cut, enhancing the overall aesthetics of your lawn. A few times a year, you can use mulching blades on your mower. These blades will chop or cut the clippings in smaller pieces to make it easier for them to decompose.
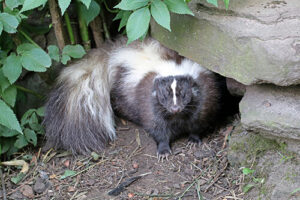 Keeping rodent pests like raccoons and skunks out of your backyard can sometimes be a difficult task, but with the right landscaping strategies you can discourage them from visiting. Strategies include lawn maintenance, careful selection of plants, trees, and shrubs, and adding hardscaping to block or discourage entry into your outdoor space. Read on for more details.
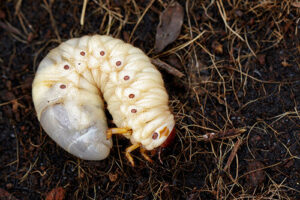 An unhealthy lawn’s root system is a breeding ground for weeds that unwelcome pests may feed on. And your lawn’s poor health may be an indication of an excess number of parasites (like grubs) that skunks and raccoons also find delectable. If your lawn has seen better days, don’t despair. Foundational
  Reduce or eliminate food sources that may be attracting unwanted wildlife to your property. This includes pet food dishes, bird feeders, fruit bearing trees and shrubs, and unsecured garbage cans. Rabbits and mice like to feed on the bark of younger shrubs and trees. To prevent this, install a guard or fabric around the trunks of younger shrubs/trees during the winter months to prevent this from happening.


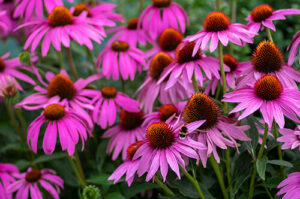 Coneflowers
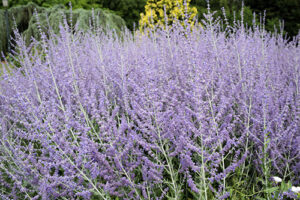 Russian Sage
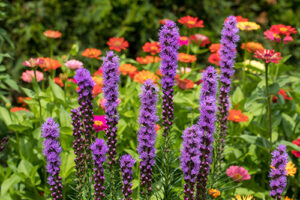 Gayfeather
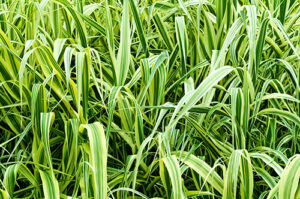 Carex/Sedge
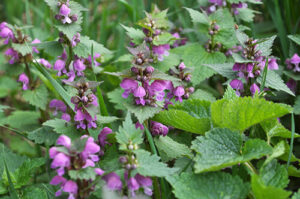 Lamium
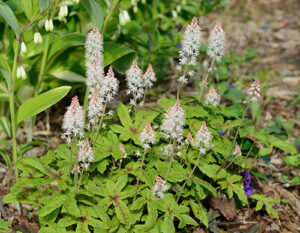 Foamflower