
Common Lawn and Garden Pests
Spring has arrived and green is overtaking white. However, the growing season is accompanied by pests who like to feast on our landscapes. Below, we’ll shed light on some of the most common lawn and garden pests in Southwestern Ontario – their origins, identification, prevention, and management strategies.
Japanese Beetles (Popillia japonica)
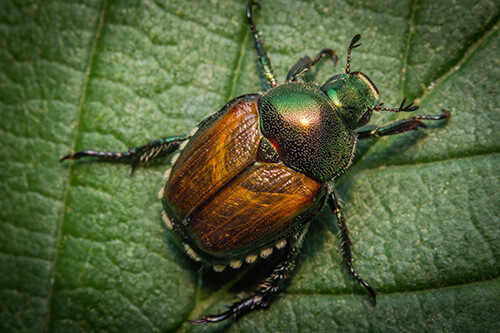 Japanese beetles were introduced from Japan in the early 20th century and have since made themselves at home in Southwestern Ontario. These beetles have a metallic green color with copper-colored wings and are often found munching on the leaves of roses, grapes, and fruit trees.
Control Methods
- Handpick the beetles
- Use row covers
- Apply insecticidal soap or neem oil
- Introduce beneficial nematodes to target the larvae
Dealing with Damage
Prune damaged foliage and promote plant health through proper care.
Aphids (Aphidoidea)
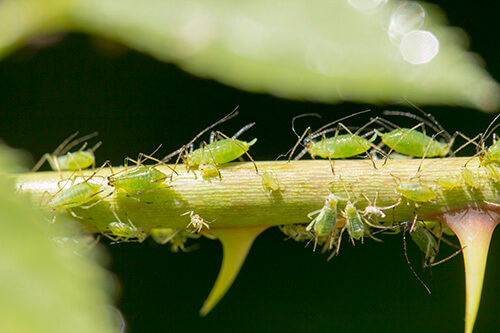 Aphids are native to North America and thrive in our temperate climate, reproducing rapidly and infesting a wide range of plants. This makes Aphids one of the most common among the common lawn and garden pests in our region. Look for clusters of small, green, pear-shaped insects on plant stems and new growth of various garden plants, including roses, vegetables, and fruit trees.
Control Methods
- Encourage natural predators such as ladybugs and lacewings
- Use insecticidal soap or neem oil, and blast aphids off plants with a strong stream of water.
Dealing with Damage
Prune heavily infested areas and monitor plant recovery.
Emerald Ash Borer (Agrilus planipennis)
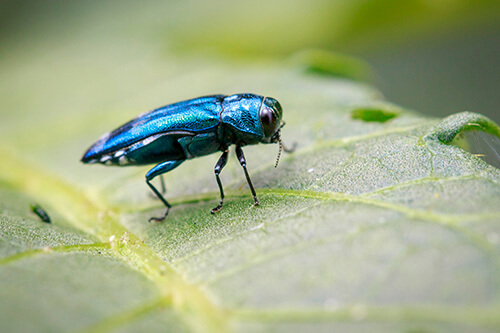 Native to Asia, emerald ash borers arrived in North America in the early 2000s and have devastated ash tree populations. Look for D-shaped exit holes in ash tree bark, canopy dieback, and S-shaped larval galleries under the bark.
Control Methods
- Implement preventive treatments such as trunk injections with systemic insecticides
- Consider replacing susceptible ash trees with resistant species.
Dealing with Damage
Prune dead branches and monitor remaining ash trees for signs of infestation.
Spider Mites (Tetranychidae)
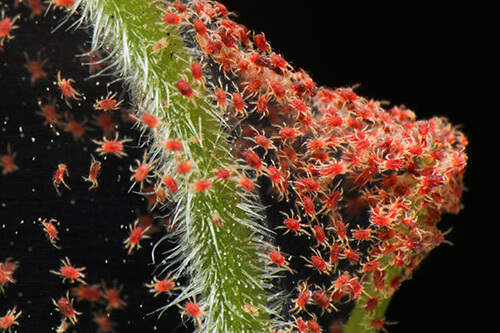 Spider mites are native to North America and thrive in warm, dry conditions, rapidly infesting plants. Look for fine webbing on the undersides of leaves and stippling or discoloration on foliage of garden plants, including tomatoes, beans, and ornamentals.
Control Methods
- Increase humidity around plants
- Introduce predatory mites or insects
- Apply horticultural oil or insecticidal soap
Dealing with Damage
Trim away heavily infested foliage and monitor plant recovery.
White Grubs (Scarabaeidae larvae)
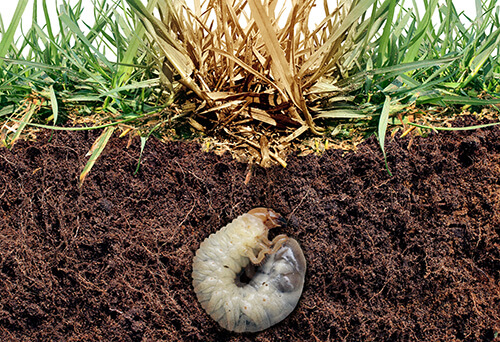 These soil-dwelling larvae are the immature stage of beetles like Japanese beetles, and they primarily feed on grass roots. Look for patches of dead or dying grass, which may indicate white grub infestation.
Control Methods
- Use beneficial nematodes or milky spore disease to target grubs in the soil
Dealing with Damage
Re-seed affected areas and maintain proper lawn care practices.
Cutworms (Noctuidae larvae)
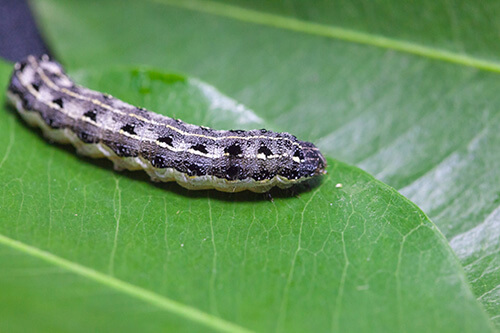 Cutworms are native to North America and are nocturnal pests that feed on young seedlings at or below ground level. Look for seedlings that have been cut off at the base.
Control Methods
- Use collar barriers around seedlings
- Handpick cutworks from plants
- Apply biological controls
Dealing with Damage
Replant damaged seedlings and protect them from future attacks.
Slugs and Snails (Gastropoda)
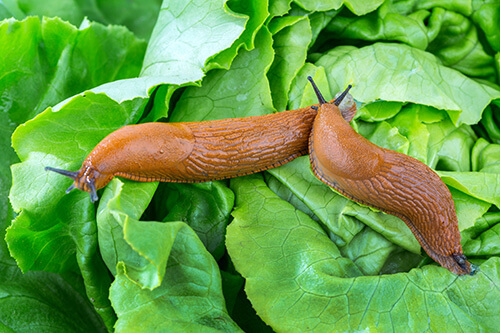 Slugs and snails are native to the region and are nocturnal pests that feed on plant foliage and tender shoots of a range of garden plants. Follow slime trails and look for irregular holes in leaves.
Control Methods
- Set up beer traps
- Apply diatomaceous earth
- Handpick them off of plants
- Introduce natural predators like toads and birds
Dealing with Damage
Trim away damaged foliage and keep garden areas clean and tidy.
Cabbage Worms (Pieris rapae)
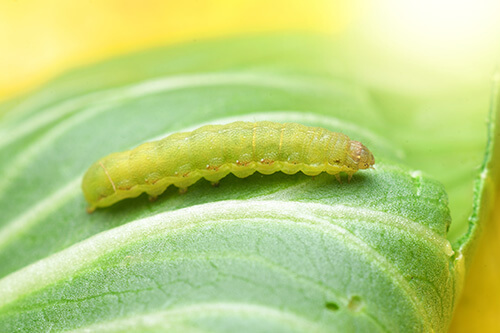 Cabbage worms are native to North America and are the larval stage of small white butterflies. As their name implies, they feed on brassica crops. Look for green caterpillars on cabbage family plants (cabbage, broccoli, kale), causing chewing damage to leaves.
Control Methods
- Handpick caterpillars
- Use floating row covers
- Apply Bacillus thuringiensis (Bt)
- Encourage natural predators
Dealing with Damage
Trim away damaged leaves and protect plants from future infestations.
Thrips (Thysanoptera)
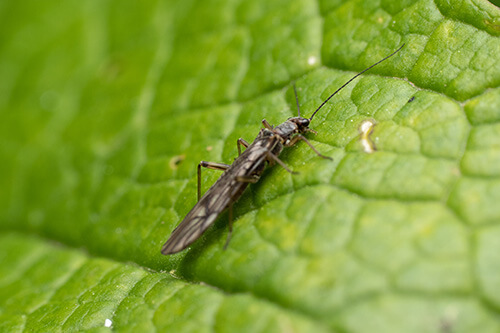 Thrips are native insects that feed on the sap of garden plants, including roses, onions, and peppers. They can transmit diseases to a wide range of plants. Look for tiny, slender insects and silvery patches on leaves.
Control Methods
- Use insecticidal soap or neem oil
- Introduce predatory insects
Dealing with Damage
Trim away damaged foliage and monitor plant health.
Scale Insects (Coccoidea)
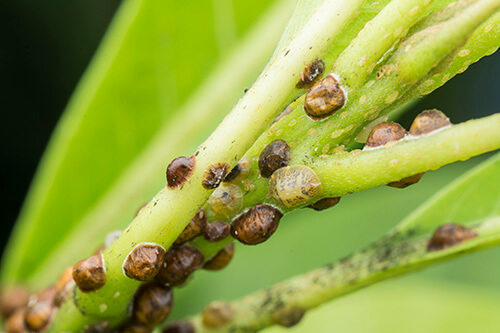 Scale insects are native to North America and can weaken or kill plants by feeding on sap and excreting honeydew of ornamental and fruit-bearing trees. Look for small, immobile insects on stems and leaves, often surrounded by a protective shell.
Control Methods
- Use horticultural oil or insecticidal soap
- Introduce natural enemies like ladybugs
Dealing with Damage
Prune away heavily infested branches and monitor plant recovery.
This guide will help prepare you to identify and combat common lawn and garden pests in Southwestern Ontario. Remember to stay vigilant, implement preventive measures, and maintain overall plant health to keep those pesky critters at bay.
Pest control product mentioned above – insecticidal soap, diatomaceous earth, neem oil, nematodes, collar barriers, floating row covers – are available at local garden centres. When purchasing, talk to staff about proper application/use for optimal effectiveness.
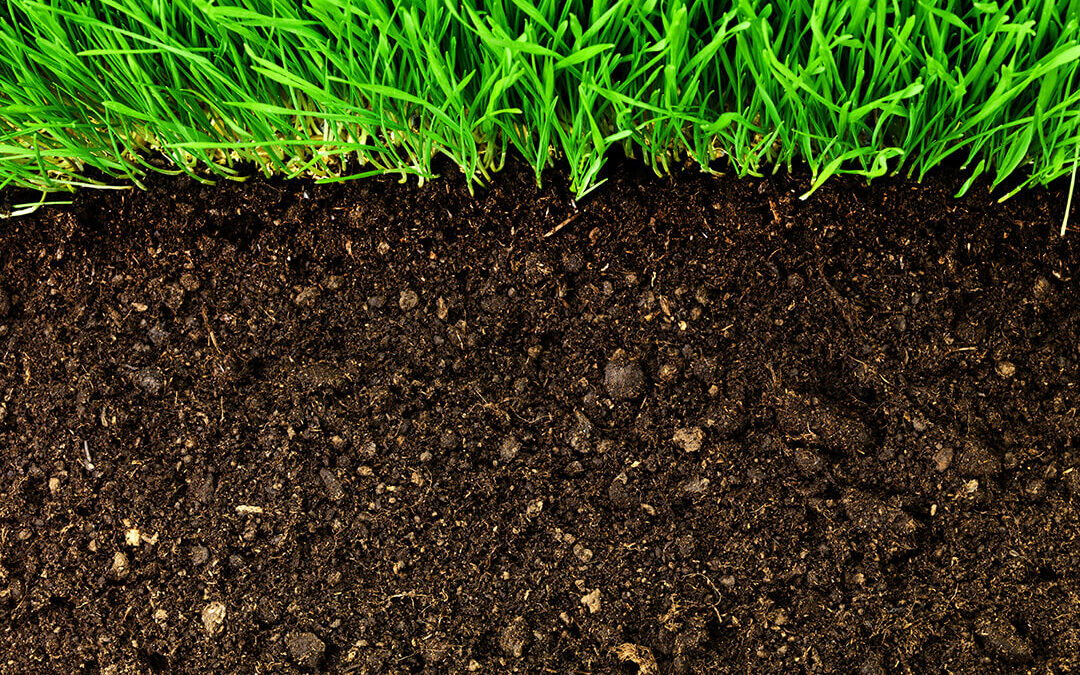
 The soils in Southwestern Ontario are diverse, shaped by various factors including climate, parent material, and topography. Common soil types include clay, loam, and sandy soils. Each soil type has unique characteristics that affect water retention, drainage, and nutrient availability.
 Selecting the appropriate plants for your soil type is crucial for a thriving landscape in Southwestern Ontario:
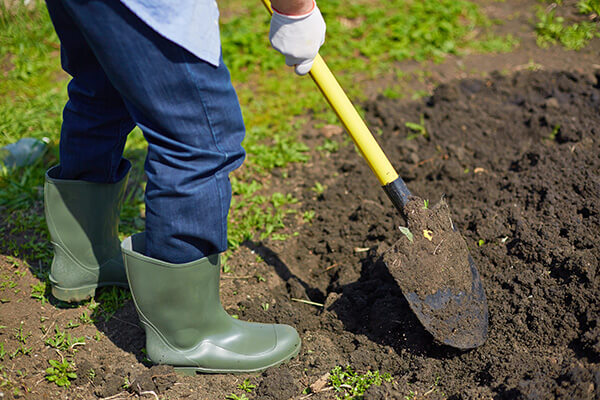
 Homeowners in Southwestern Ontario can proactively improve soil conditions to meet their landscaping needs. Here are some suggestions:
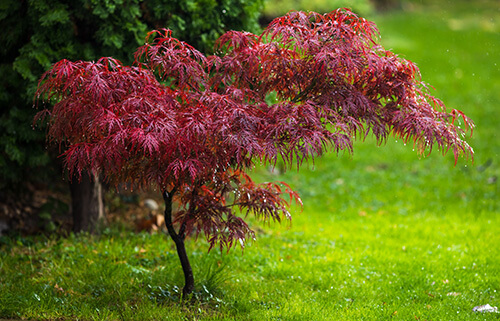 Japanese Maple
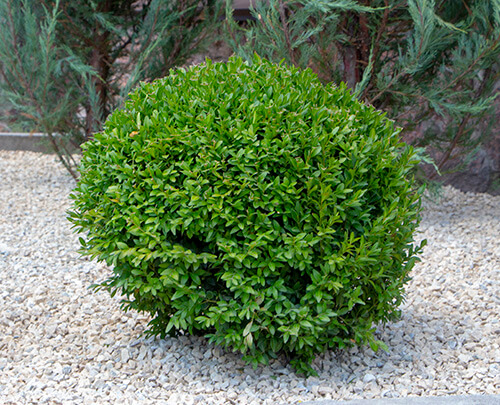 Boxwood
 Rhododendrons and Azaleas
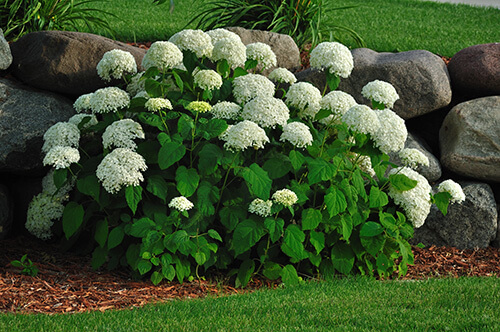 Compact Hydrangea
 Assessment and Safety Considerations
 Fertilization and Hydration
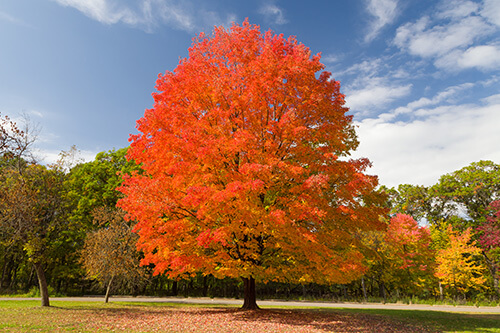 Sugar Maple (Acer spp.)
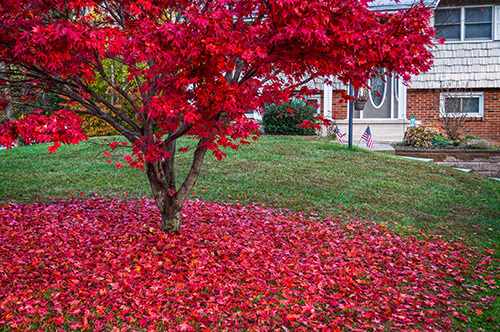 Japanese Maples (Acer palmatum)
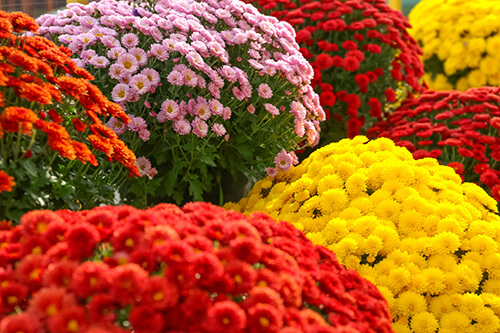 Chrysanthemums (Chrysanthemum spp.)
 Virginia Creeper (Parthenocissus quinquefolia)
 In our region, the climate is perfect for many fragrant trees and shrubs that can be enjoyed throughout the year. In this blog post, we will look at some of the best trees and shrubs that are ideal for fragrance in Southwestern Ontario. Whether you are an experienced gardener or just starting, this post will help you create a beautiful, fragrant oasis in your own backyard.
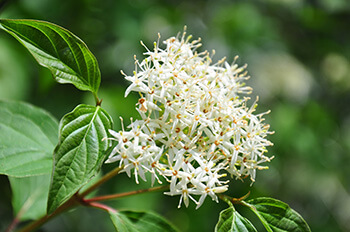 Katsura trees are unique deciduous trees that emit a refreshing, burnt sugar scent in the fall. They have heart-shaped leaves and attractive yellow flowers in the spring.
 Lavender is renowned throughout the world for adding fragrance and beauty to any garden. This herb has beautiful purple blooms that fill the air with their calming scent.
 This herb has delicate, fragrant flowers in vibrant shades of pink, purple, and white.