Increase the Usability of Your Yard
Landscaping is often seen as an aesthetic endeavor, but it’s much more than that. Properly designed landscaping can significantly increase the usability of your yard, turning it into a functional space for relaxation, entertainment, and everyday living. Whether you have a small urban backyard or a sprawling suburban garden, thoughtful landscaping can transform your outdoor area into an extension of your home. Here are some ideas and tips to help you achieve a practical and beautiful yard.
Assess Your Needs and Wants
 Before you start any landscaping project, it’s crucial to understand what you want from your yard. Consider the following questions:
- Do you need a play area for children?
- Are you looking to create an outdoor dining space?
- Do you want to grow your own vegetables or herbs?
- Are you interested in creating a habitat for local wildlife?
Identifying your priorities will guide your landscaping decisions and help you create a yard that meets your practical needs.
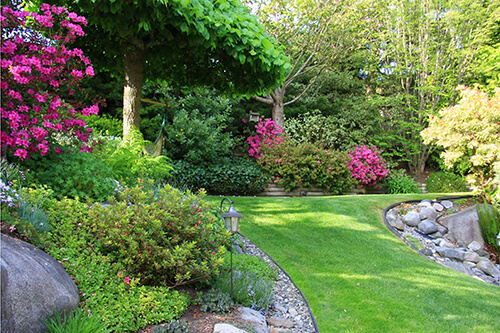
Define Functional Zones
 Divide your yard into functional zones based on your identified needs. For example:
- Play Zone: A safe, open area with soft ground cover, such as grass or rubber mulch, for children to play.
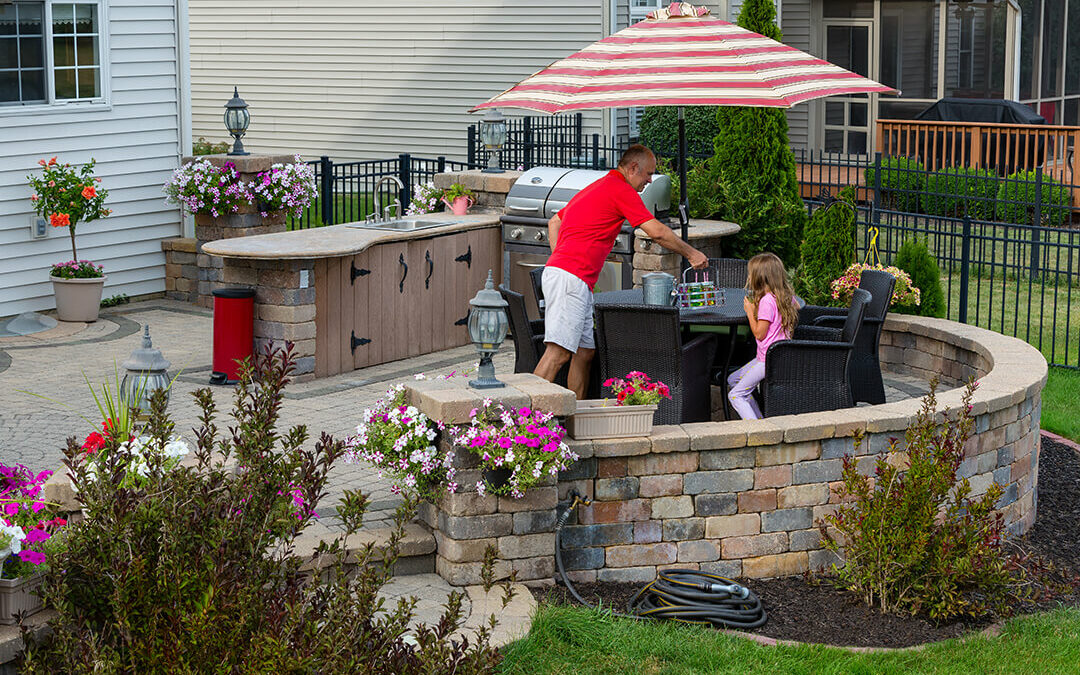
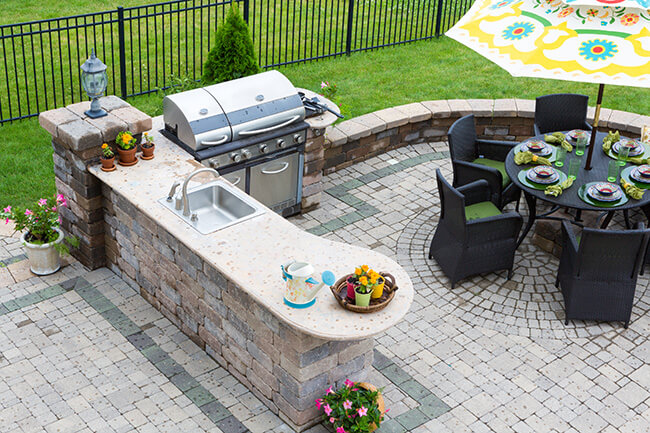
- Dining and Entertaining Zone: A patio or deck with seating, a dining table, and possibly a grill or outdoor kitchen.
- Garden Zone: Raised beds or designated plots for growing vegetables, herbs, and flowers.
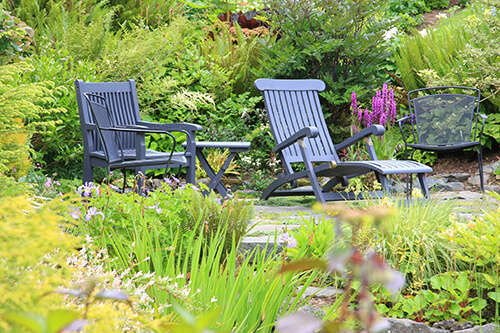
- Relaxation Zone: A quiet corner with comfortable seating, a hammock, or a water feature for relaxation.
Creating distinct zones ensures that each area serves a specific purpose and helps organize the space efficiently.
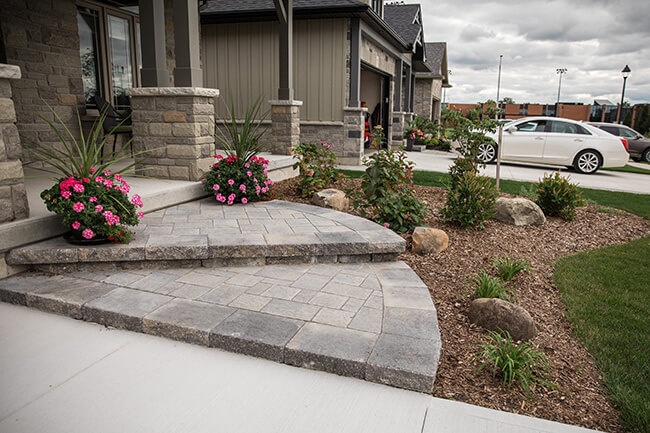
Incorporate Pathways
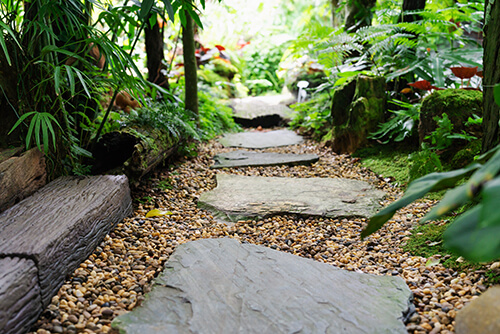 Pathways are essential for navigating your yard comfortably and safely. They connect different zones and add structure to your landscape. Choose materials that complement your yard’s style, such as natural stone, gravel, or pavers. Make sure the paths are wide enough for easy movement and, if necessary, accessible for strollers or wheelchairs.
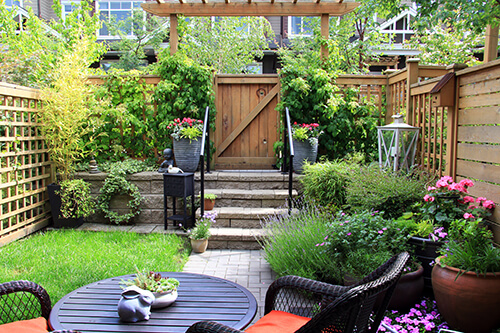
Take Advantage of Vertical Space
Maximize your yard’s usability by leveraging vertical space. This is particularly useful for small yards where horizontal space is limited. Consider the following ideas:
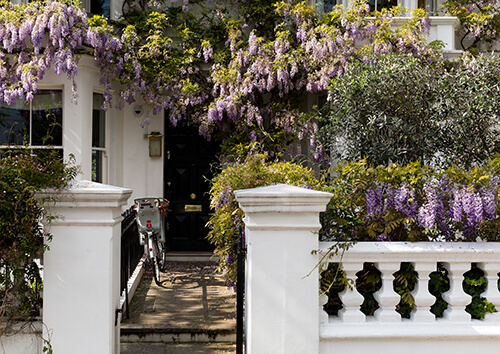
- Vertical Gardens: Use trellises, wall-mounted planters, or vertical garden systems to grow plants upwards instead of outwards.
- Climbing Plants: Train climbing plants like ivy, roses, or clematis to cover fences, walls, or pergolas, adding greenery without taking up ground space.
- Hanging Baskets: Add hanging baskets for flowers or herbs to free up ground space while adding beauty and functionality.
Choose Multi-Functional Elements
 Opt for landscaping elements that serve multiple purposes to make the most of your space. Some examples include:
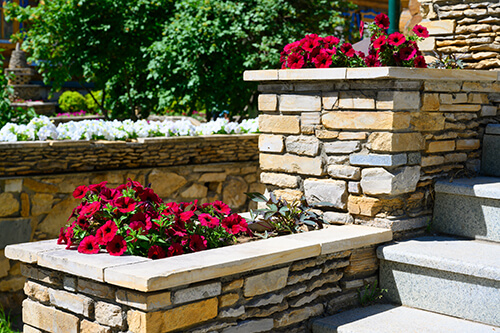
- Seating Walls: Low retaining walls can double as seating areas during gatherings.
- Planter Benches: Benches with built-in planters provide seating and greenery.
- Pergolas: Pergolas can offer shade, support climbing plants, and define outdoor rooms.
Install Water Collection and Efficient Irrigation Systems
An efficient irrigation system ensures your plants get the right amount of water without wasting resources. Consider drip irrigation or soaker hoses for garden beds, and opt for smart irrigation controllers that adjust watering schedules based on weather conditions. Efficient watering not only keeps your plants healthy but also saves you time and effort.
Embrace Low-Maintenance Landscaping
 Low-maintenance landscaping allows you to enjoy your yard without spending all your free time on upkeep. Here are some tips:
- Choose Native Plants: Native plants are adapted to your local climate and soil, requiring less water and maintenance.
- Use Mulch: Mulching garden beds helps retain moisture, suppress weeds, and improve soil health.
- Opt for Perennials: Perennial plants come back year after year, reducing the need for replanting.
Add Lighting
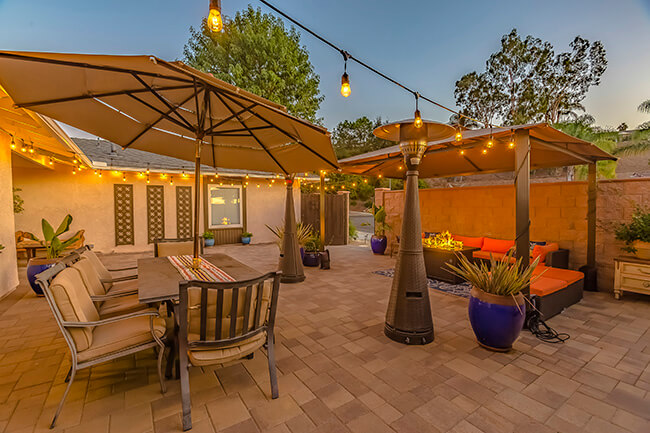
Outdoor lighting extends the usability of your yard into the evening and enhances safety and security. Consider the following options:
- Path Lights: Illuminate pathways to prevent trips and falls.
- String Lights: Add a warm, inviting glow to seating and dining areas.
- Spotlights: Highlight key features, such as trees, sculptures, or water features.
Create Privacy
Privacy is essential for a comfortable and enjoyable yard. Create privacy by using fencing, hedges, or screens to create secluded areas. Tall plants, trellises with climbing vines, or decorative panels can also add privacy without making the space feel closed off.
Incorporate Sustainable Practices
Sustainable landscaping practices benefit both your yard and the environment. Some ideas include:
- Rainwater Harvesting: Collect rainwater in barrels for use in irrigation.
- Composting: Compost kitchen scraps and yard waste to create nutrient-rich soil for your garden.
- Xeriscaping: Use drought-tolerant plants to reduce water consumption.
By thoughtfully designing your landscape with functionality in mind, you can create a yard that enhances your lifestyle and meets your practical needs. Whether you’re looking to entertain, grow your own food, or simply relax, a well-planned yard can become a valuable extension of your living space. Happy landscaping!
Would you like more specific tips or information on any particular aspect of yard landscaping? Contact us for professional landscaping services.
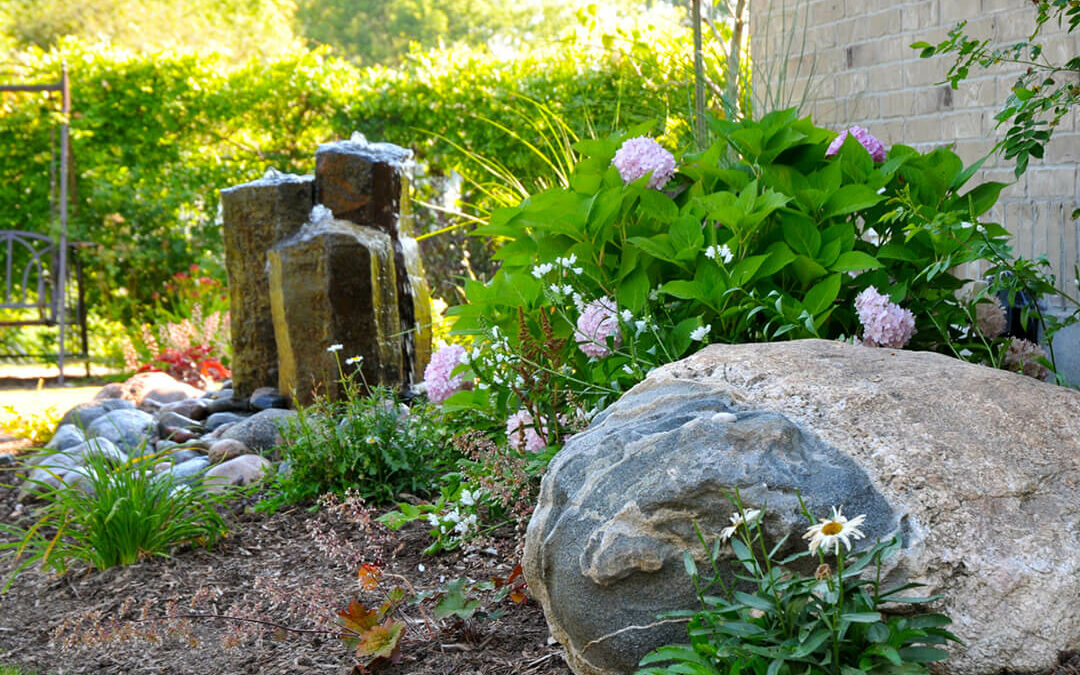
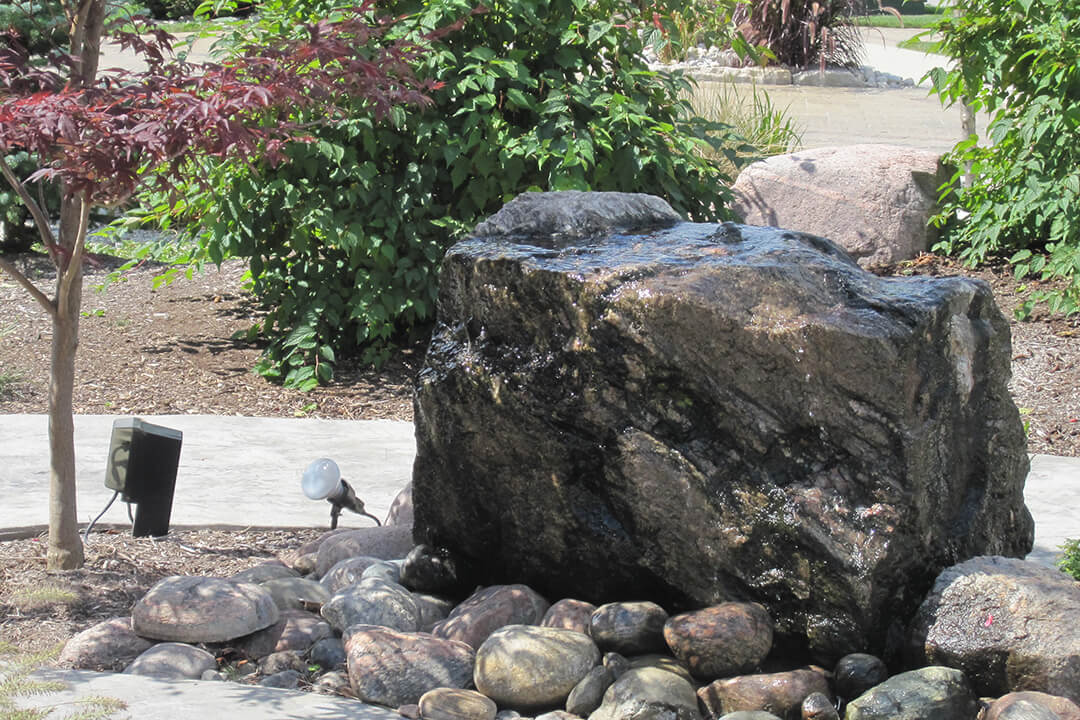 Aesthetic Appeal: Bubbling rocks add a focal point to your garden,
 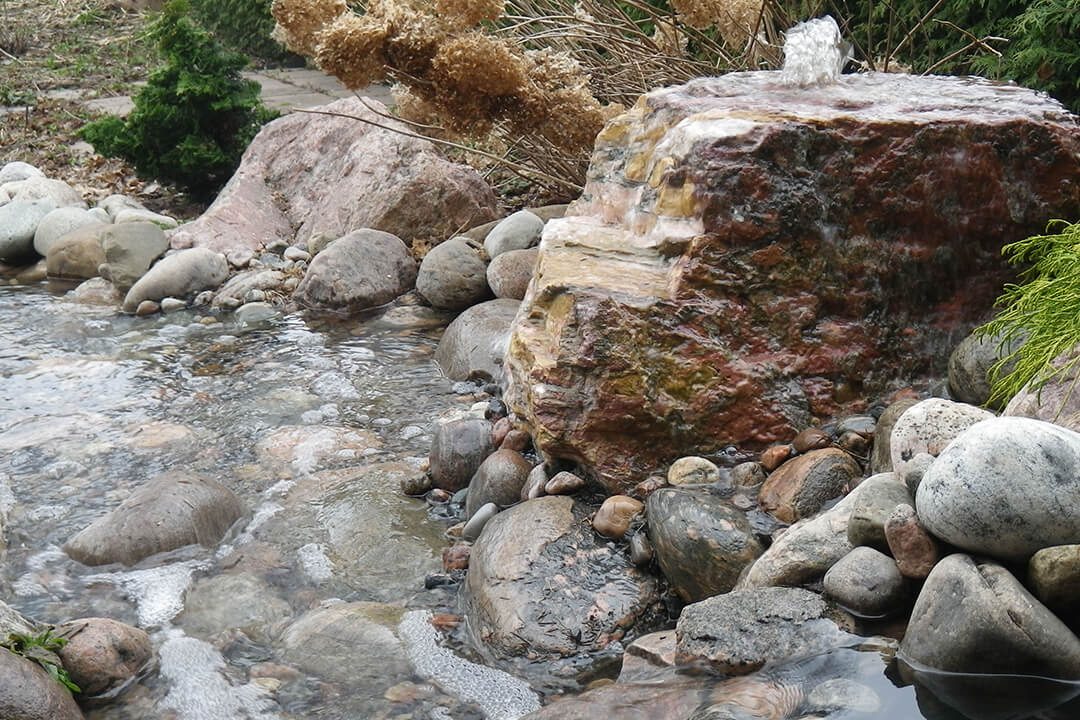 One of the lesser-known benefits of bubbling rocks is their ability to attract beneficial insects, particularly bees and butterflies. These creatures are vital for pollination, and their presence can significantly enhance the health and vibrancy of your garden.
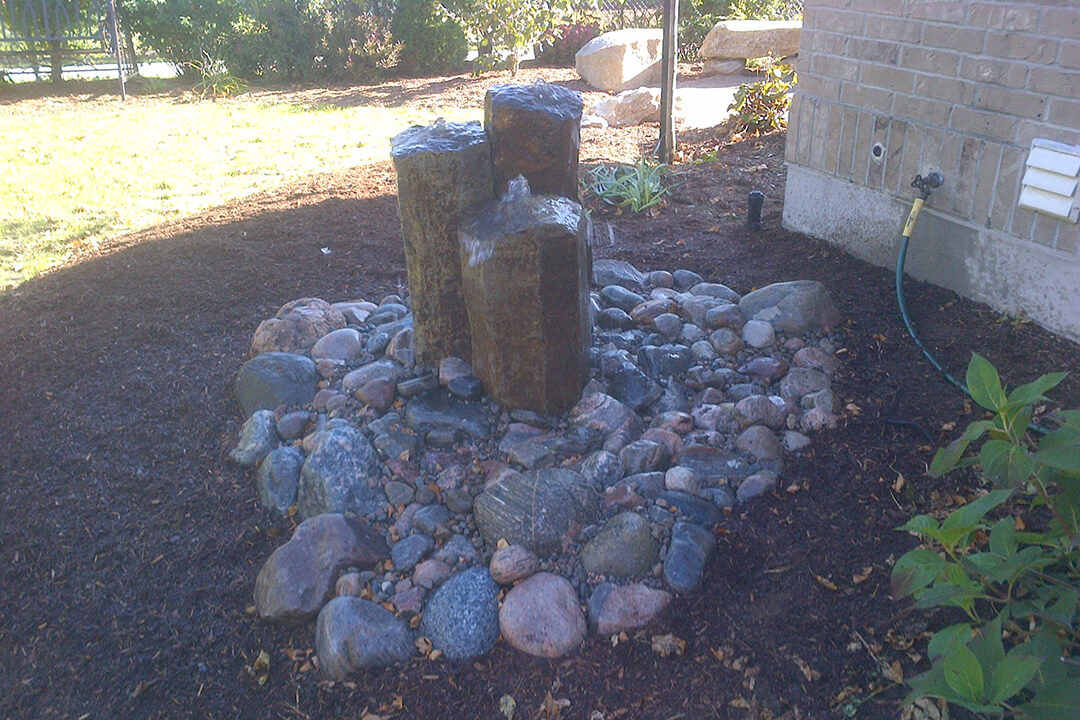 To keep your bubbling rocks functioning optimally and to maintain their visual appeal, regular maintenance is essential. Here are some tips to ensure your water feature remains in top condition:
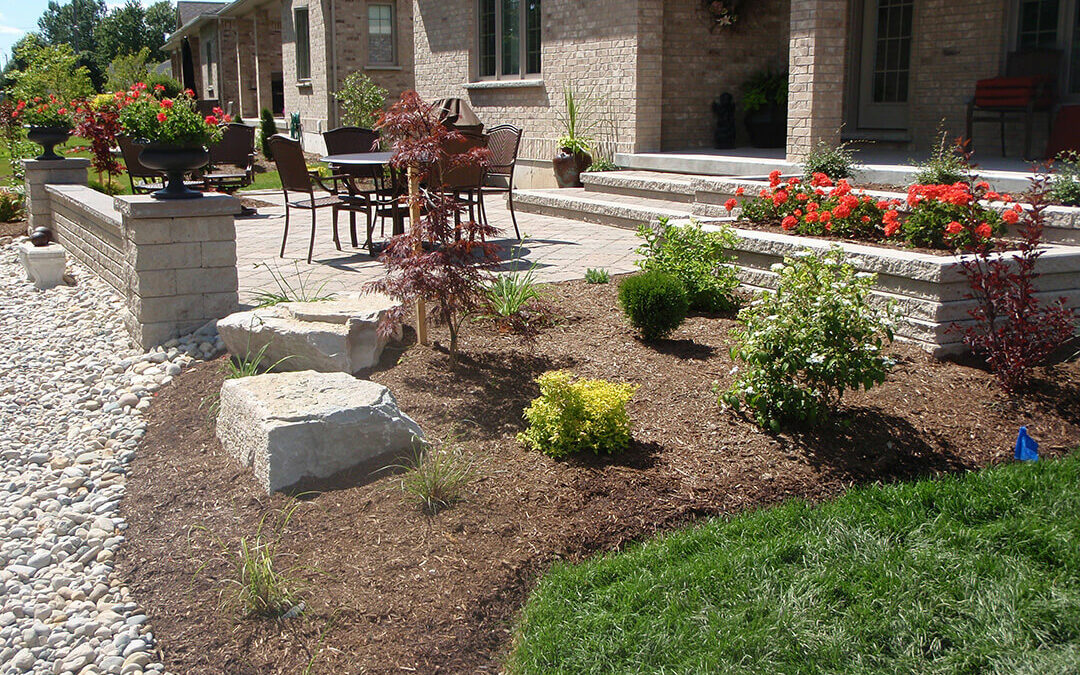
 Hardscaping – the art of landscaping with non-living elements – adds structure, functionality, and aesthetic appeal to outdoor spaces. Doing the job right requires an understanding of the principles of hardscaping, careful planning, and attention to detail.
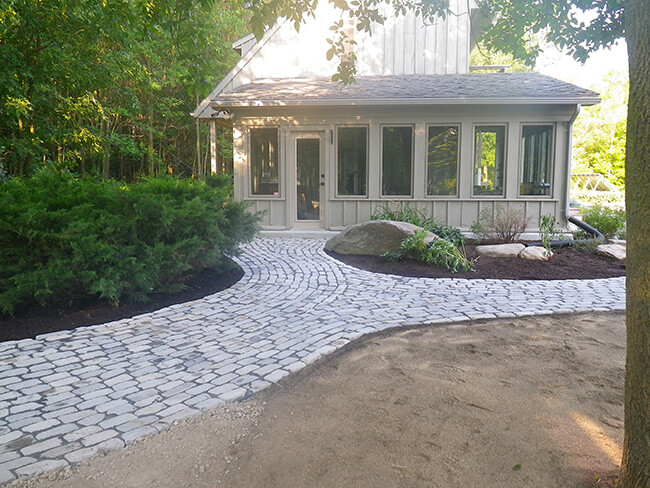 Functionality
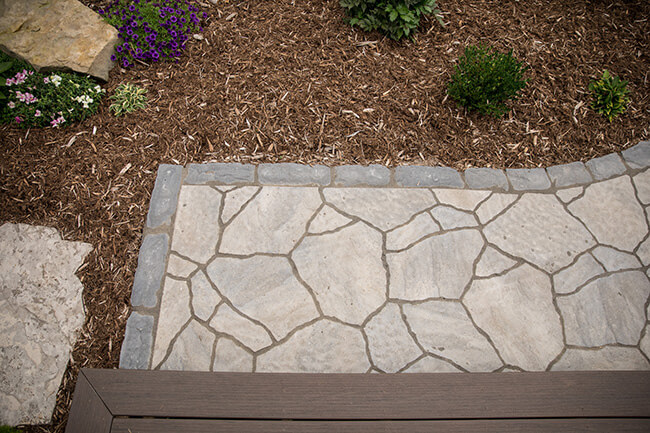 Our designs achieve visual balance by distributing hardscape elements evenly throughout the space. Balance is achieved through symmetry, asymmetry, or radial patterns, depending on the desired aesthetic.
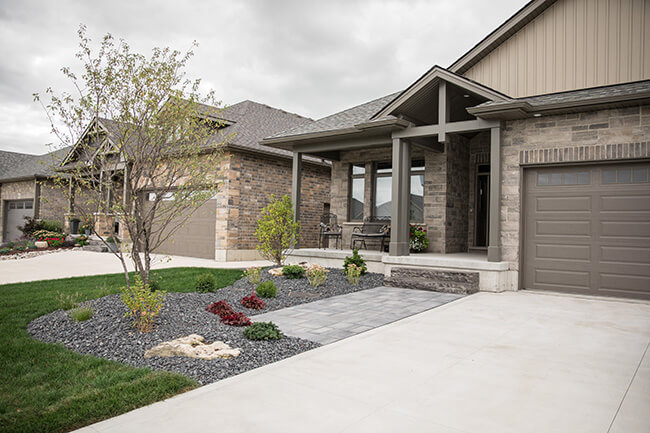 The first step is an evaluation of the site to identify existing features, such as slopes, drainage patterns, and utility lines, that may impact the hardscaping design. Factors like sun exposure, soil conditions, and access points will impact the layout.
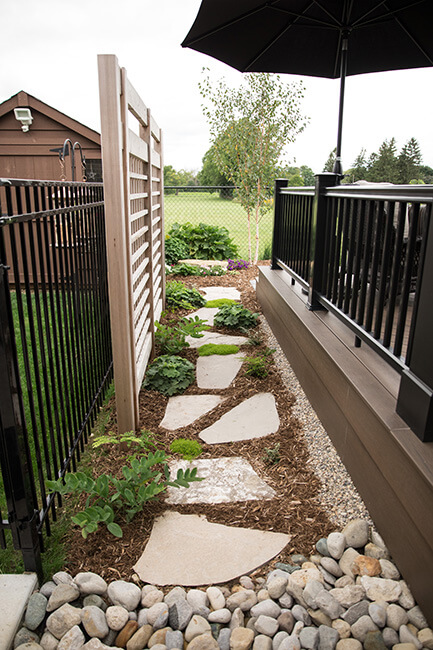 When the planning is complete, we begin preparing the site by clearing vegetation, grading the terrain, and addressing any drainage issues. Hardscaping projects require a sturdy base, such as crushed stone or gravel, to provide a stable foundation for hardscape features like patios and pathways.
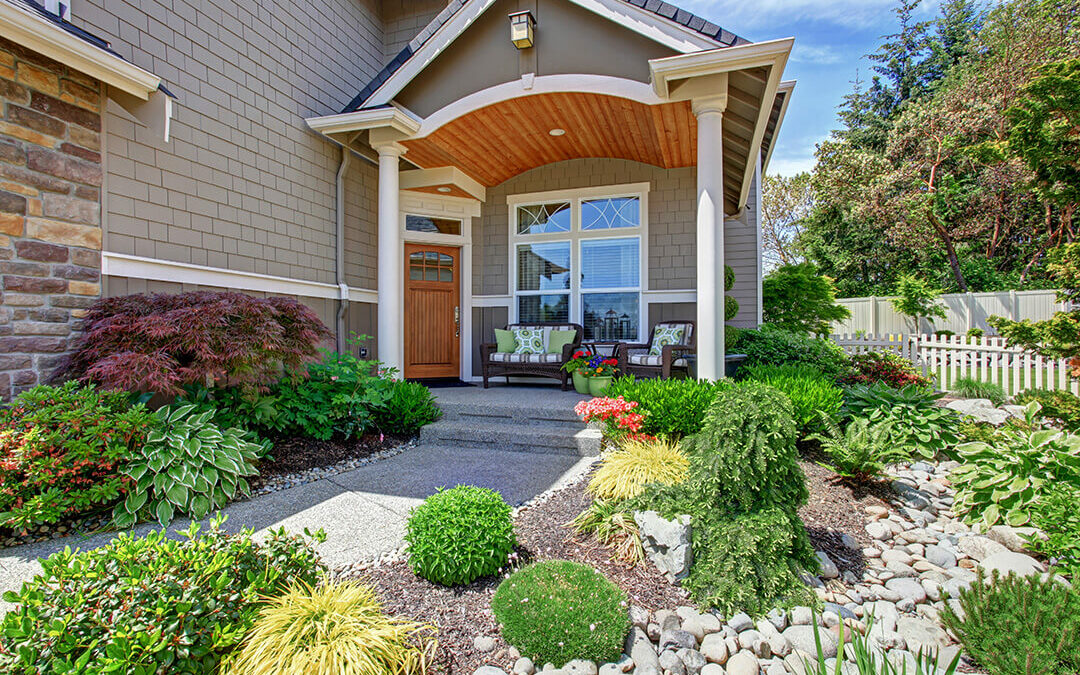
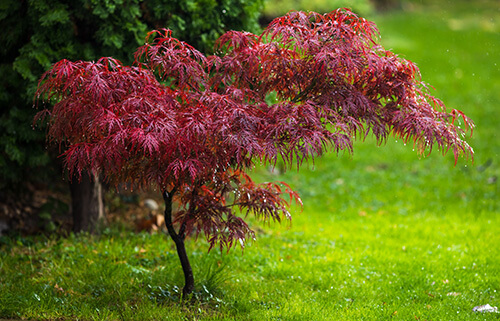 Japanese Maple
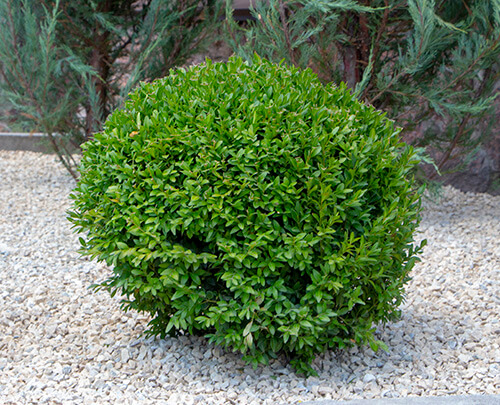 Boxwood
 Rhododendrons and Azaleas
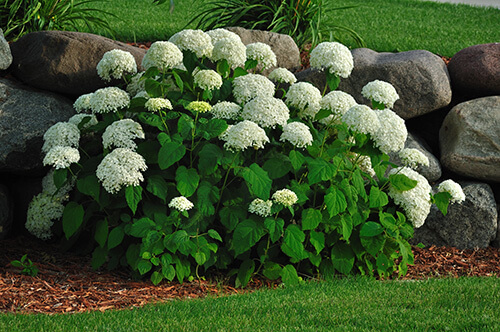 Compact Hydrangea
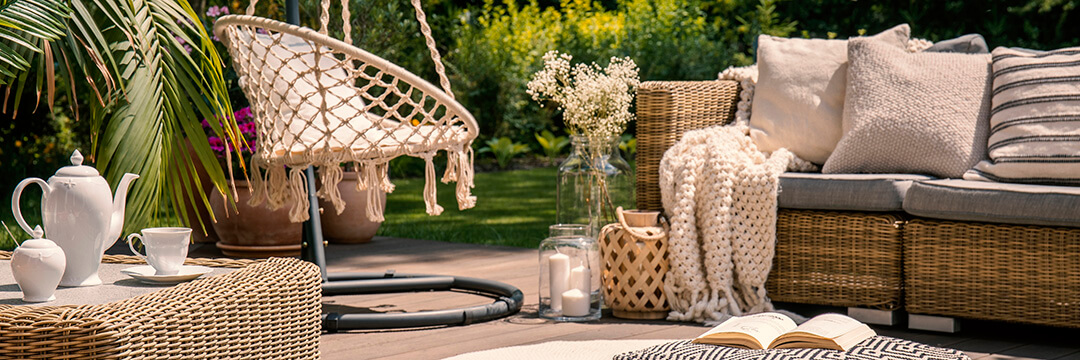
 The concept of outdoor spaces as extensions of our homes gained immense popularity during the pandemic and is set to remain a staple in landscaping. Outdoor living rooms equipped with comfortable seating, weather-resistant furniture, and even fully functional kitchens have become the new norm. People are realizing that their gardens or backyards can serve as a retreat for relaxation, entertainment, and remote work.
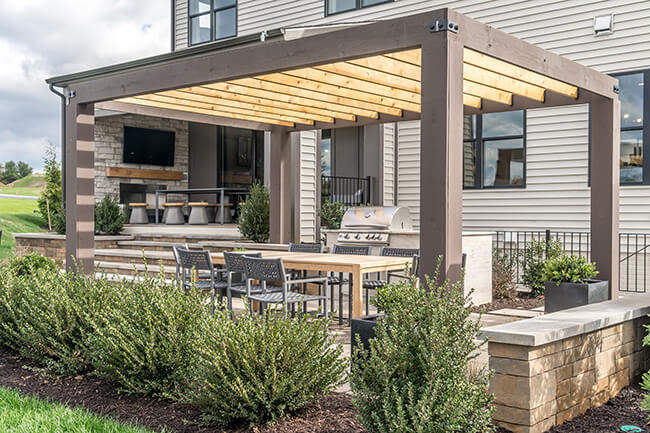
 Remote work arrangements prompted a need for adaptable workspaces, and outdoor settings proved to be both refreshing and conducive to productivity. As hybrid work models persist, the integration of outdoor workspaces—whether it’s a shaded patio corner or a garden gazebo—will remain relevant.
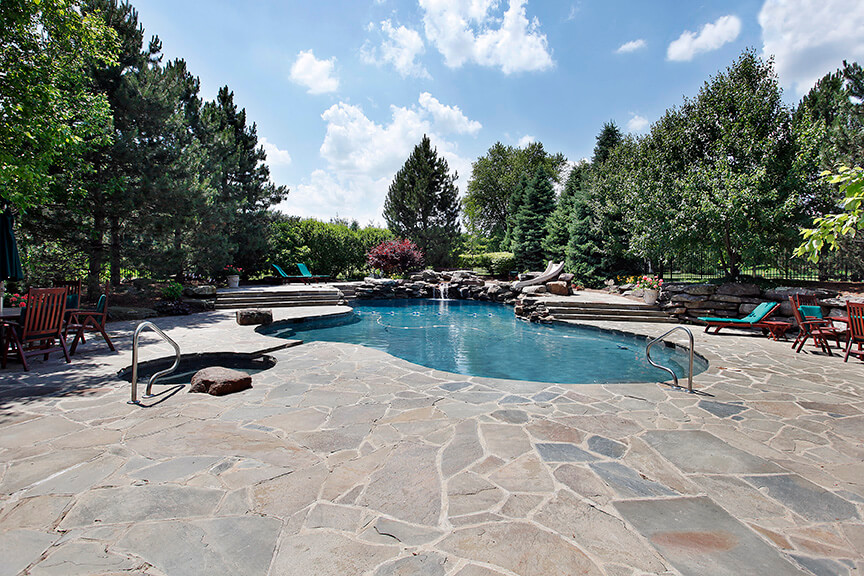
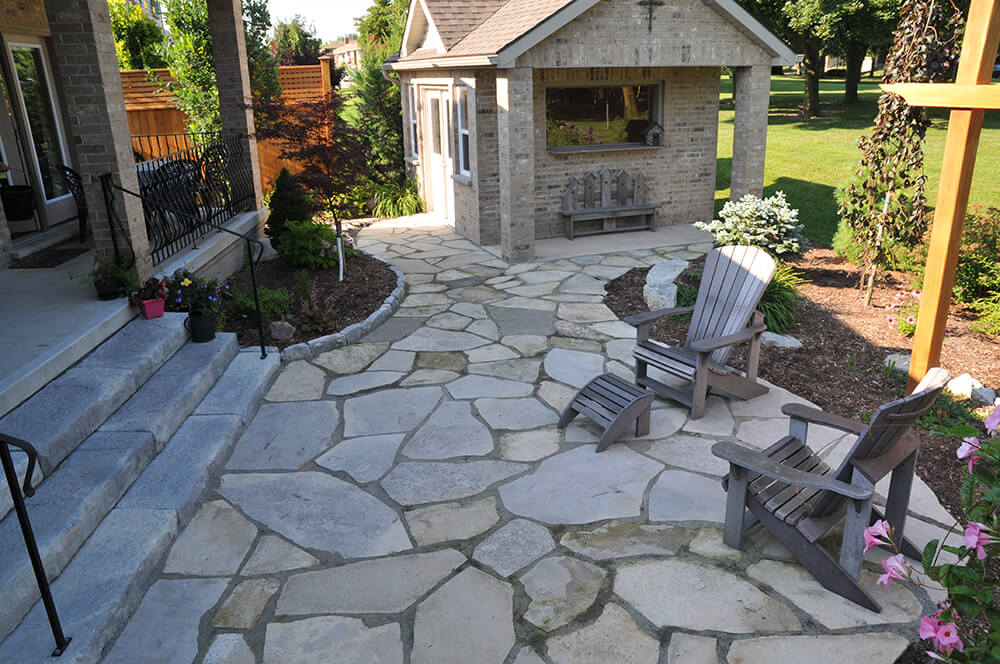 Flagstone, characterized by its relatively flat, irregular-shaped slabs, is a timeless choice for adding elegance and functionality to your landscape design. This type of natural stone is available in various colors, including earthy browns, grays, and blues, offering a wide range of options to suit your aesthetic preferences.
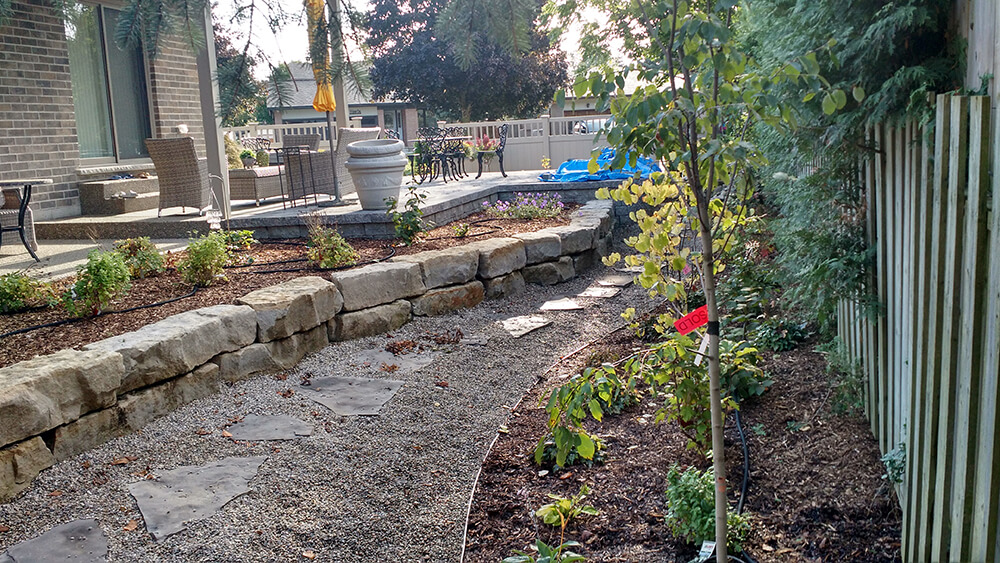 Armour stone is a heavyweight natural stone renowned for its strength and durability. These large, rugged stones bring a sense of grandeur to any landscape and are commonly used for creating retaining walls, borders, and eye-catching focal points.
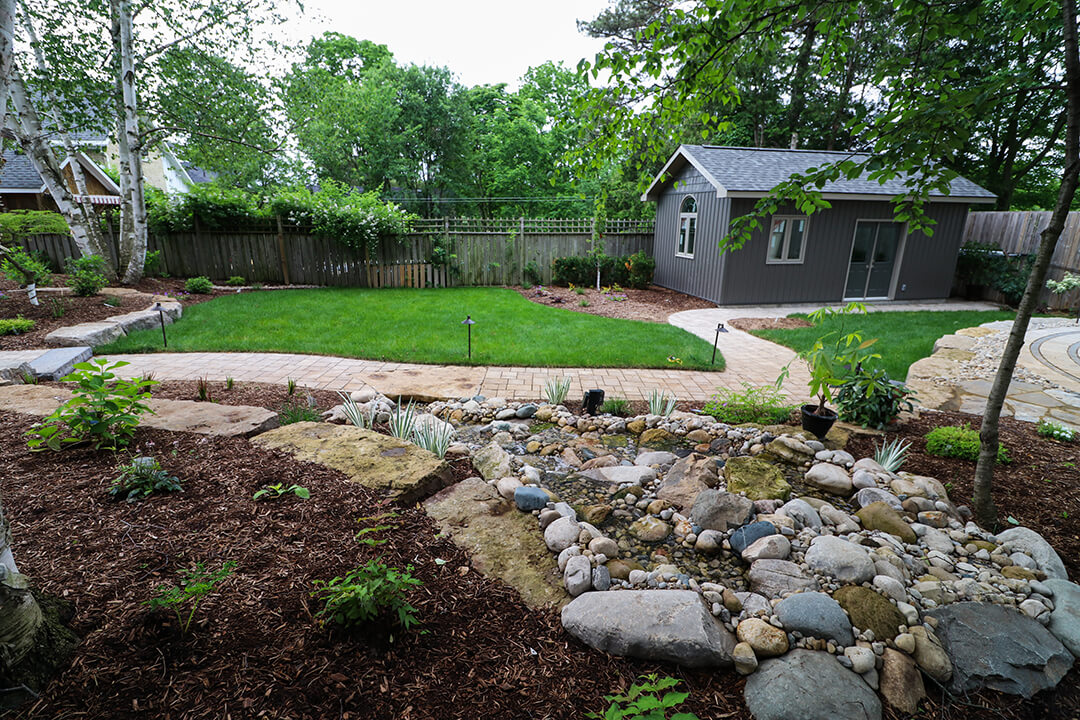 River rock, also known as river stones or pebbles, is a smooth natural stone typically found in riverbeds. Its unique rounded shape and earthy, soothing colors make it an excellent choice for enhancing various aspects of your landscape.