How to Amend Soil
Landscaping success often hinges on the quality of the soil. Different soil types present unique challenges, but with the right amendments and techniques, you can create a thriving environment for your plants, flowers, trees, and shrubs. In this post, we explore how to amend soil to either improve the drainage of clay-based soil, enhance moisture retention in sandy soil, and/or adjust pH and nutrient levels for optimal plant growth.
How to Amend Soil to Improve Drainage
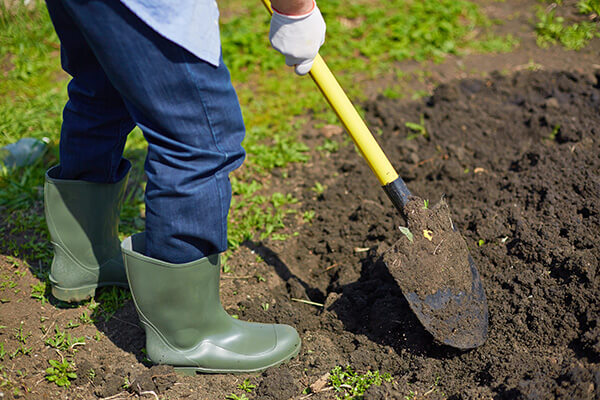
 Clay soil is dense and can retain excess water, leading to poor drainage and root rot. Here are some tips to improve drainage:
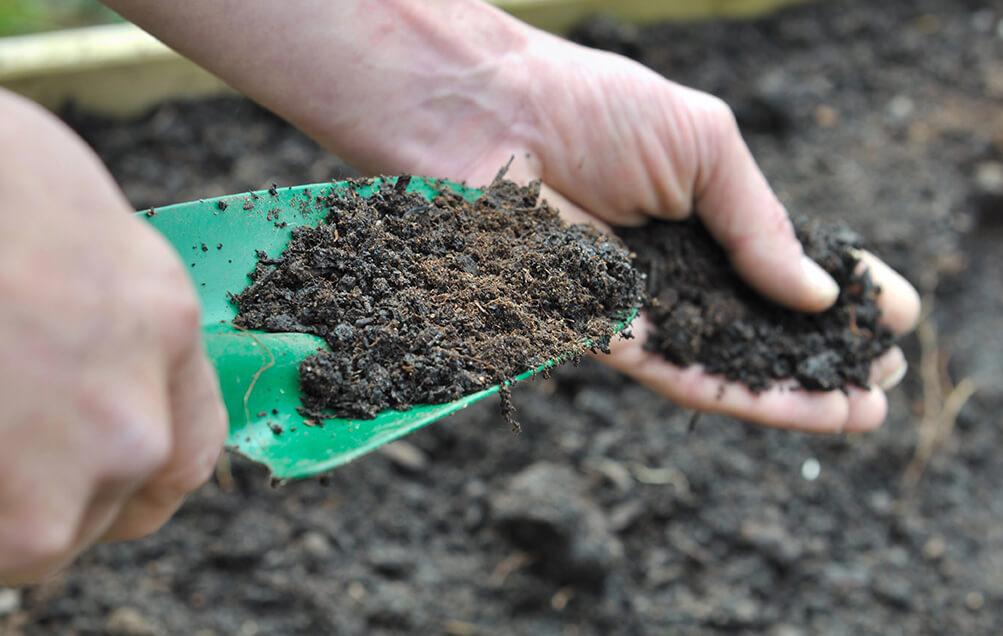
- Add Organic Matter: Incorporate compost, well-rotted manure, or leaf mold into the soil. Organic matter improves soil structure, making it more porous and improving drainage.
- Use Gypsum: Gypsum helps break up compacted clay particles, enhancing drainage and soil aeration without altering the soil pH.
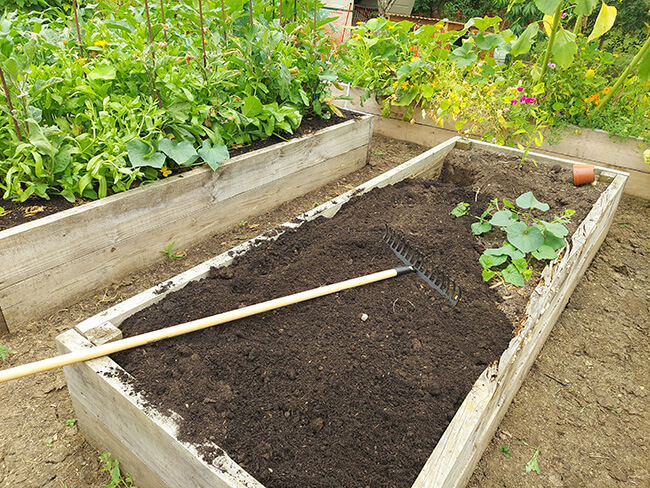
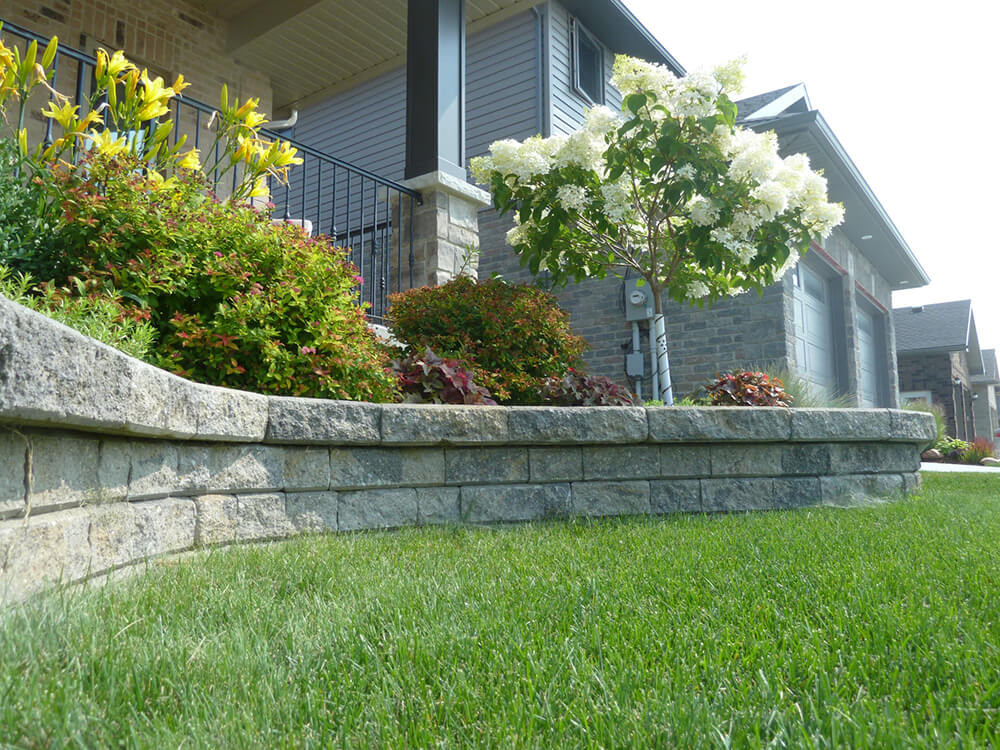
- Create Raised Beds: Raised beds improve drainage by allowing excess water to flow away from plant roots. They also make it easier to work the soil.
- Sand: Due to its larger particles, horticultural sand creates space in the soil, which allows for better air movement and improves the flow of water.
How to Amend Soil for Enhanced Moisture Retention
Sandy soil drains quickly and struggles to retain moisture and nutrients. Here’s how to improve its water-holding capacity:
- Add Organic Matter: Just like with clay soil, adding compost, well-rotted manure, or leaf mold can significantly improve sandy soil. These materials increase the soil’s ability to retain moisture and nutrients.
- Use Mulch: Mulching helps retain moisture by reducing evaporation. Organic mulches such as straw, wood chips, or bark break down over time, adding nutrients and improving soil structure.
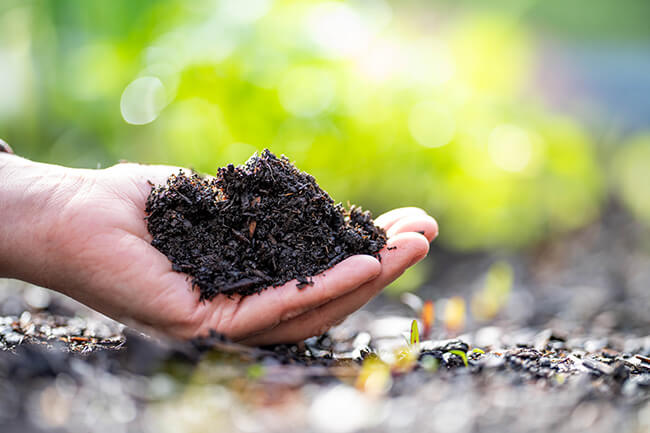
- Incorporate Biochar: Biochar is a form of charcoal that enhances soil structure, water retention, and nutrient availability. Mix biochar into the top few inches of soil for best results.
- Hydrogels: Hydrogels or water-absorbing polymers can be mixed into the soil. They absorb water and release it slowly, helping to keep the soil moist for longer periods.
Adjusting Soil pH and Nutrient Levels
 The pH level and nutrient content of your soil are crucial for plant health. Here’s how to adjust them:
- Testing Soil pH: If you’re unsure if your soil pH is suitable for your plants, you can try this at-home method to determine your soil’s pH. Most plants prefer a pH between 6.0 and 7.0, but some plants, like blueberries and azaleas, prefer more acidic soil.
- Raising Soil pH: If your soil is too acidic, add lime (calcium carbonate) to raise the pH. Follow the recommendations based on your soil test results.
- Lowering Soil pH: If your soil is too alkaline, add sulfur or aluminum sulfate to lower the pH. Again, follow soil test recommendations for the correct amount.
- Balancing Nutrients: Use a balanced, slow-release fertilizer to provide essential nutrients. Organic options like compost, worm castings, or fish emulsion are great choices for improving soil fertility over time.
- Micronutrients: Don’t forget about micronutrients such as iron, manganese, and zinc. These are essential for plant health and can be added through specific fertilizers or organic matter.
General Tips for All Soil Types
- Regular Soil Testing: Test your soil every few years to monitor pH and nutrient levels. Soil pH does change over time and testing can help you make informed decisions about soil amendments. If you live in Stratford and area, you can take a soil sample to Stratford Agri-Analysis for testing. Simply advise them what you’d like to grow and they’ll tell you how to amend your soil to enhance growing conditions.
- Avoid Over-Tilling: Excessive tilling can disrupt soil structure and lead to compaction. Use minimal tilling techniques and add organic matter to maintain soil health.
- Consider species that require the same soil type. For example, hydrangeas thrive in acidic soil. Surrounding them with other acid-loving plants makes it easier to manage the soil for optimal plant health.
By understanding and amending your soil, you can create the ideal growing environment for your plants, flowers, trees, and shrubs. With these tips, you’ll be well on your way to a lush, thriving garden. And if you need professional landscaping assistance, contact us!
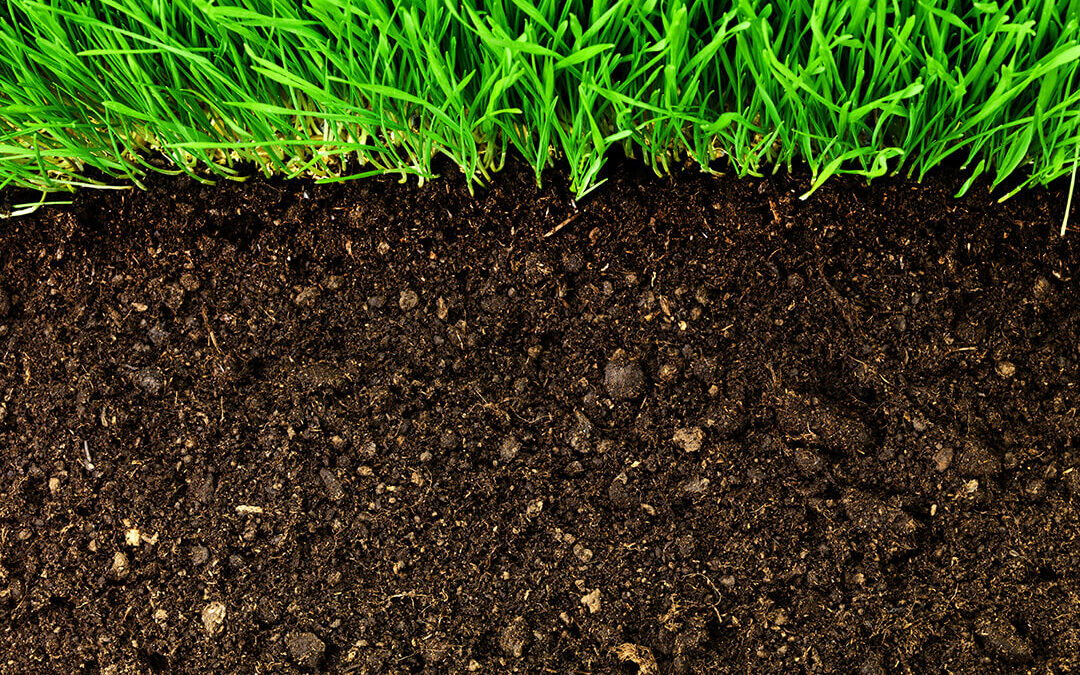
 The soils in Southwestern Ontario are diverse, shaped by various factors including climate, parent material, and topography. Common soil types include clay, loam, and sandy soils. Each soil type has unique characteristics that affect water retention, drainage, and nutrient availability.
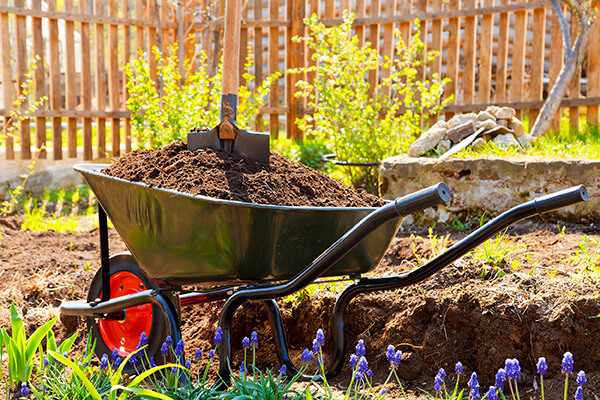 Selecting the appropriate plants for your soil type is crucial for a thriving landscape in Southwestern Ontario:
 Homeowners in Southwestern Ontario can proactively improve soil conditions to meet their landscaping needs. Here are some suggestions:
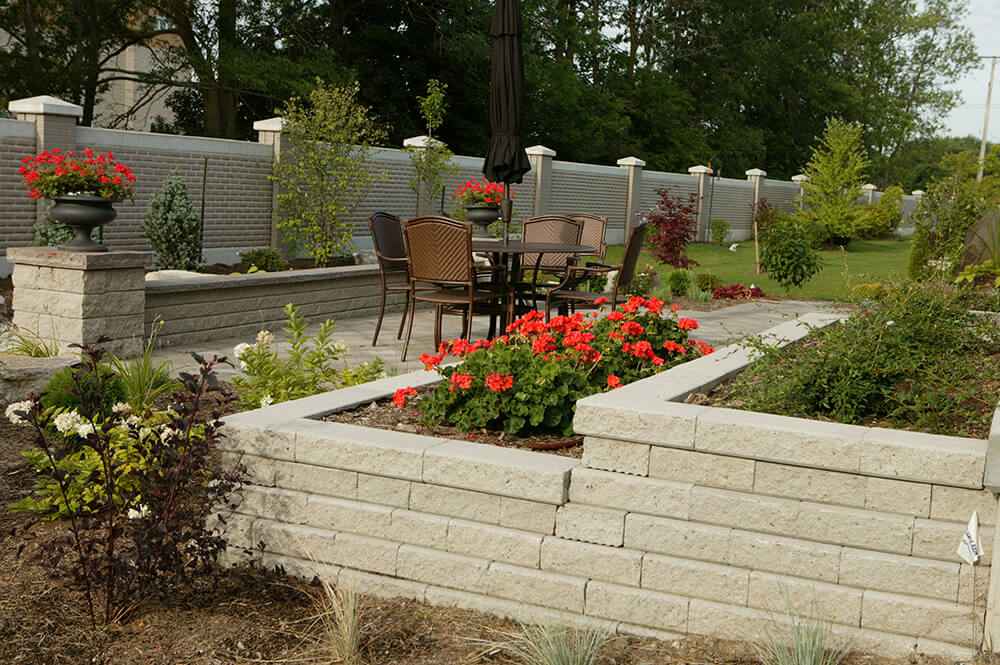
 Even though it may look nice at the beginning, a wood retaining wall will begin to weather after a season or two, detracting from its appearance and effectiveness. The structure will need to be treated regularly. And even with treatment, the material may need to be replaced in as little as five years. Plus, the chemicals from pressure-treated lumber leach into the soil, which is not good in general, but especially for vegetable and herb gardens.
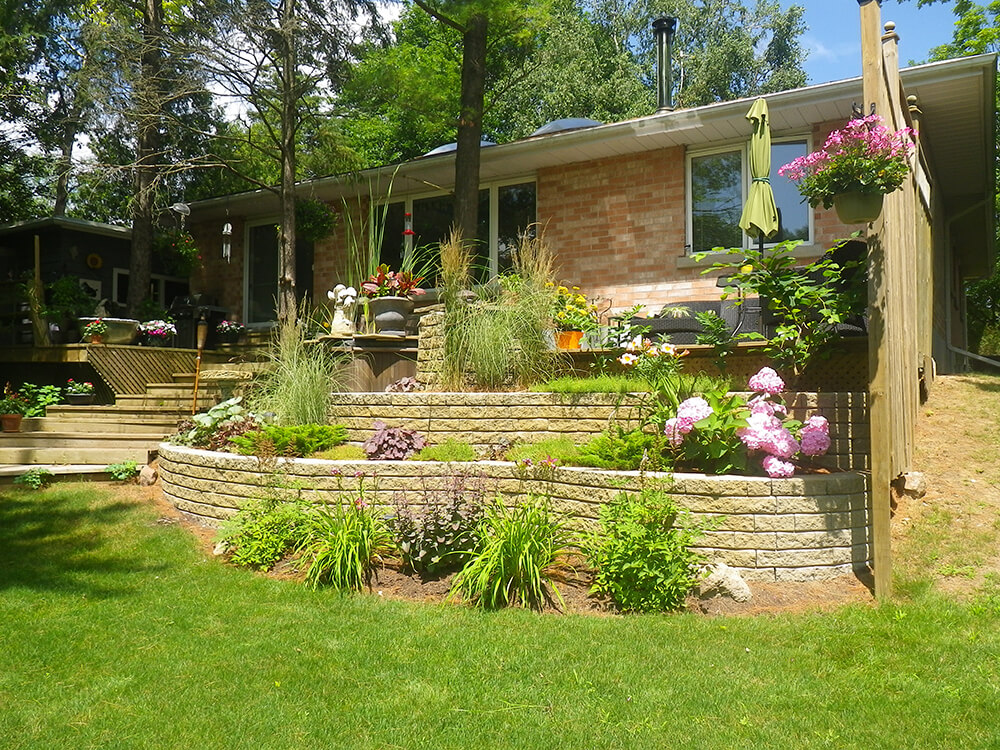 If the slope of the lot in question renders the yard otherwise tough to landscape, one or a tiered series of retaining wall(s) can help create stepped gardens that are much more amenable to hosting plants, shrubs, and trees. Or a retaining wall can convert a sloping lawn into one single level for enhanced enjoyment of your greenspace.
 Foundation