Spring Landscaping Projects – A Comprehensive Guide

Spring Landscaping Projects – A Comprehensive Guide

By late winter, most of us are champing at the bit to say goodbye to snow and begin some spring landscaping projects. However, when you’re located in regions with colder climates, like Hardiness Zones 5 and 6, timing is key to ensure your landscaping projects are successful and won’t be ruined by lingering, sub-zero temperatures.

In these zones, getting a head start on your landscaping project can be a bit tricky. But the below guide can help you kick off your landscaping tasks at the right times (earlier than you might think) and make the most of the spring and summer months.

Understanding The Southwestern Ontario Hardiness Zones

Southwestern Ontario hardiness zones 5 and 6Before diving into specifics, it’s important to define our hardiness zones (5 & 6). Hardiness zones are determined by the average minimum temperatures that a region experiences during the winter.

  • Zone 5 typically includes areas with average low temperatures ranging from 29°C to -23°C.
  • Zone 6 has slightly milder winters, with average low temperatures ranging from -23°C to -18°C.

These zones are significant because they dictate what types of plants and trees will thrive (i.e. survive winter) in our area, and they also impact the timing of landscaping projects. In both zones 5 and 6, the winter frost can last into late April (or even May!), so it’s crucial to be mindful of this when planning.

The Ideal Time to Start Spring Landscaping Projects in Southwestern Ontario

Though the ground may still be thawing in early spring, there are several tasks you can begin before the frost has fully left the ground.

Early Spring (Late March to Mid April): Planning, Preparation, and Soil Work

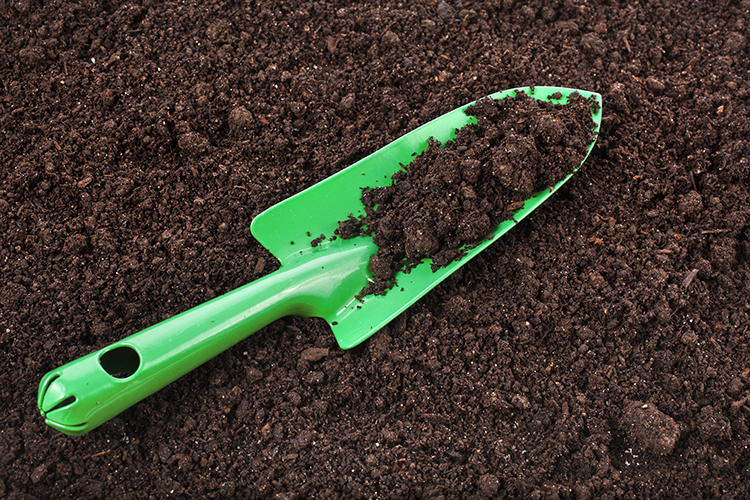
Early Spring Planting soil testing landscaping projectsWhile it’s not yet time to plant anything delicate or frost-sensitive, early spring is the perfect time to begin planning your landscaping project and preparing your yard. Here are some activities you can start with:

  • Planning and Design: Take advantage of the cold weather to sketch your landscaping design. This is the time to think about your overall vision, the layout of flower beds, garden paths, patios, or water features. You can also research which plants are best suited for your zone. Drawing your plan on paper (or using a landscaping app) will help you visualize the changes and ensure your project flows smoothly once the weather warms up.
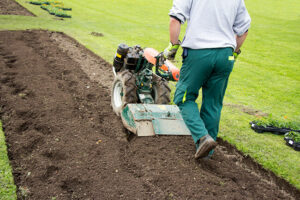
  • Clearing the Area: Once the snow has melted and the ground has thawed enough, it’s time to begin spring cleanup. This can involve removing dead plants, leaves, and debris from flower beds, lawn areas, and other sections of your landscape. It’s also an ideal time to prune any shrubs or trees before they start budding. Be sure to clean up garden beds, pathways, and any other areas that need tidying up.
  • Soil Testing and Preparation: Testing the pH and nutrient levels of your soil early in the season is an essential step in preparing for a successful landscaping project. You can get a soil test kit from your local garden center or university extension service. Based on the results, you can amend the soil with the necessary fertilizers, compost, or lime to improve soil health. Early spring gives you enough time to make adjustments before planting begins.
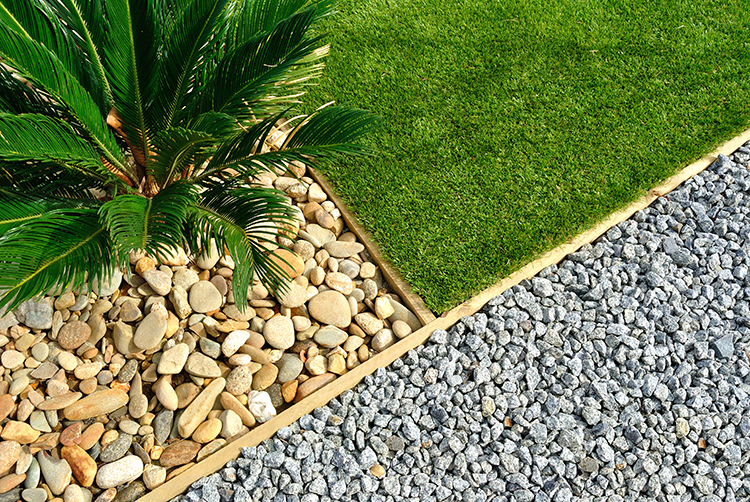
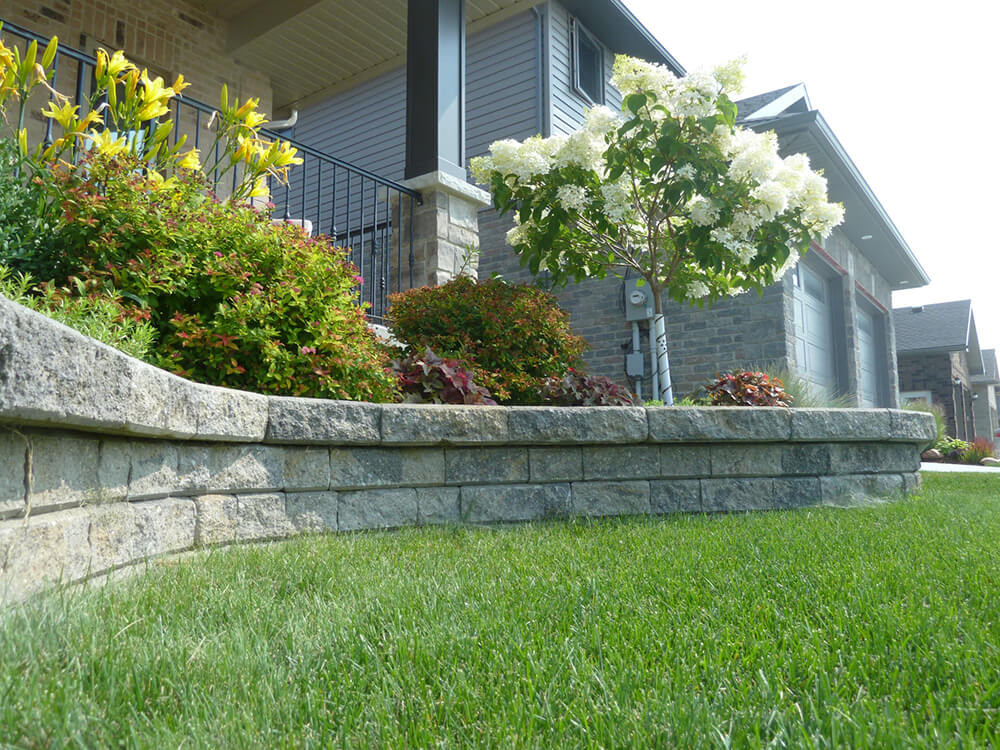
  • Hardscaping: If your landscaping project includes hardscaping features like building a patio, retaining walls, or installing pathways, you can begin these tasks even in early spring. While it might still be too early to lay sod or plant anything sensitive, hardscaping typically involves working with materials like stone, gravel, or concrete that can be installed even if the ground is still a little cold. Just ensure that all of the frost is out of the ground. If it’s not, your hardscaping elements will settle after the ground thaws and you’ll most likely need to relay the stone. You can also lay out the framework for fences or garden structures.

Late Spring (Late April to Mid May): Planting and Plant Care

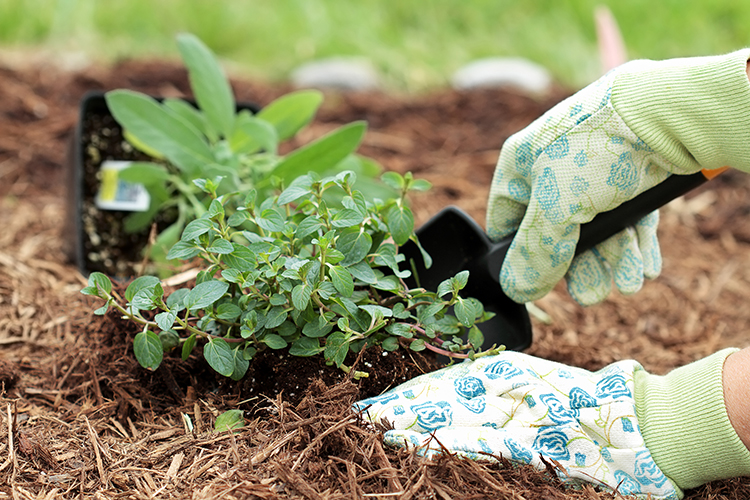
mid to late spring planting hardy perennials landscaping projectsAs the soil warms up and the last frost date approaches (typically in late April for Zone 6 and mid May for Zone 5), you can start thinking about planting. However, it’s important to wait until the soil is no longer too cold for seeds or young plants to thrive.

  • Planting Hardy Perennials: In early spring, certain plants, particularly cold-tolerant perennials, can be planted in Zones 5 and 6. These include species like hostas, lavender, daylilies, and coneflowers. These hardy perennials can withstand some frost and can be planted as soon as the soil is workable and temperatures have warmed a bit.
  • Starting Annuals Indoors: Many gardeners in Zones 5-6 choose to start annuals indoors earlier in the year, generally around 6-8 weeks before the last expected frost date. Flowers like marigolds, zinnias, and petunias, as well as vegetables like tomatoes, peppers, and herbs, all thrive when started inside in early spring. By doing this, you’ll have strong, healthy plants ready to be hardened off and planted outdoors when the time is right.
  • Mulching and Weed Control: As the weather warms and plants begin to emerge from the soil, applying a layer of mulch around your garden beds can help suppress weeds, retain moisture, and regulate soil temperature. Keep an eye out for any invasive weeds that may start sprouting and remove them before they have a chance to spread.

Late Spring to Early Summer (Late May to June): Full Planting and Maintenance

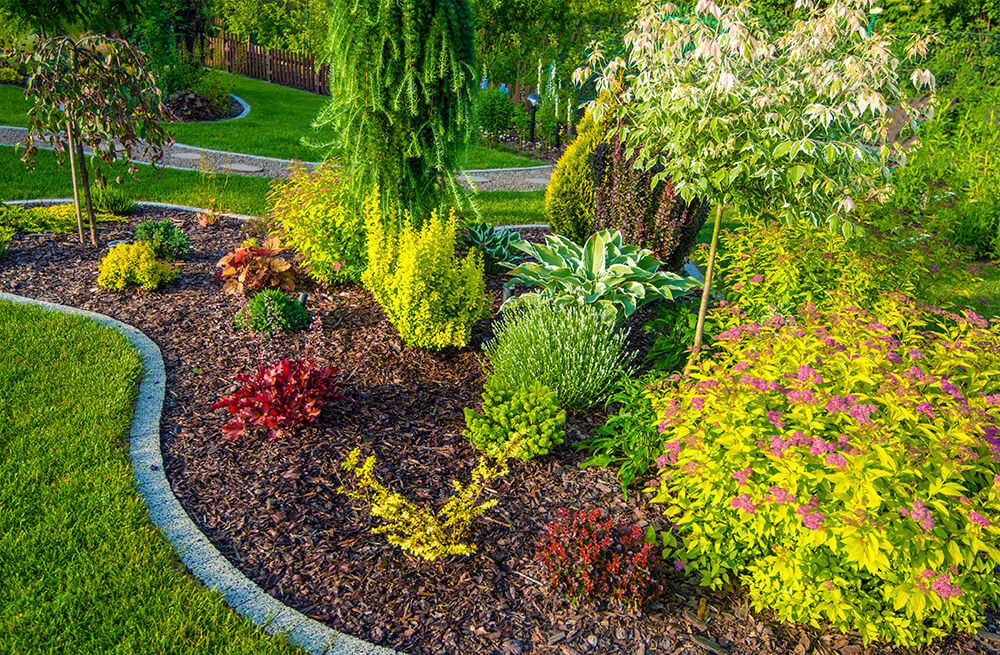
late spring to early summer planting spring landscaping projects trees and shrubsOnce the danger of frost has passed and soil temperatures are consistently above 50°F, you can move forward with your full landscaping project. This is when most of the planting will take place. This period offers a long window for planting flowers, shrubs, trees, and vegetables. Here’s what you can do:

  • Planting Warm-Weather Crops and Annuals: After the last frost date (typically mid-May for Zone 5 and late May to early June for Zone 6), you can begin planting annuals and vegetable garden crops that need warm soil to thrive.
  • Adding Trees and Shrubs: Late spring is an excellent time to plant trees and shrubs, as the weather is warming and the soil is beginning to support healthy root development. When selecting trees or shrubs, make sure to choose species that are hardy in your specific zone. This will ensure that they can withstand the climate and provide long-term beauty.
  • Ongoing Maintenance: As your plants start to grow, make sure to monitor their progress. Water regularly, especially during hot spells, and watch for any signs of pests or diseases. Keeping your yard free of debris, properly mulching garden beds, and maintaining your hardscaping features will ensure your landscaping project looks great throughout the season.

In Hardiness Zones 5 and 6, it’s crucial to know the optimal time for each phase of your landscaping project to get the best results. While you may have to wait for the last frost date and ensure the soil is warm enough, there are plenty of activities you can start in early spring, including planning, clearing, hardscaping, and soil preparation.

By taking advantage of the early part of the year for these preparatory tasks, you’ll be ready to plant and grow a beautiful landscape once the warmer weather arrives. Remember to tailor your landscaping plans to your specific zone’s growing season and weather patterns, and don’t forget the importance of patience—good things take time, and a little advance preparation will pay off in the end.

If you’re not a green thumb, or just want to ensure that everything is done right and at the right time, contact us and share your landscaping goals.

How to Budget for a Hardscaping Project: Costs, Planning, and Smart Strategies

How to Budget for a Hardscaping Project: Costs, Planning, and Smart Strategies

Costs, Planning, and Smart Strategies

Planning a hardscaping project for your yard or outdoor space in Stratford and area? Whether you’re dreaming of a new patio, stone walkway, retaining wall, or full backyard renovation, understanding how to budget is the key to success. Thoughtful planning helps you avoid surprises and ensures your investment results in a functional and beautiful landscape that lasts.

Here’s a complete breakdown of what to consider when budgeting for a hardscaping project in Southwestern Ontario or beyond.

Start with a Site Consultation and Assessment

How to budget for a hardscaping project site assessmentEvery outdoor space is unique, and a site consultation is a critical first step. A landscaping professional will evaluate:

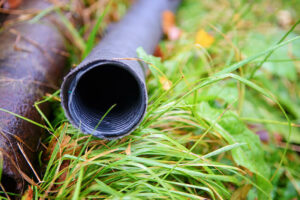
  • Drainage and grading conditions
  • Soil type and compaction
  • Existing structures or barriers

This visit allows you to discuss your vision, identify potential challenges early on, and ensure the right installation techniques and materials are chosen from the start.

Invest in a Professional Hardscape Design Plan

How to Budget for a Hardscaping Project professional designCreating a solid landscape design plan is worth every penny. An experienced designer will:

  • Maximize the use of space
  • Recommend materials that fit your goals and budget
  • Help you visualize the finished product

Design fees can vary—from a few hundred dollars for basic layouts to several thousand for detailed or large-scale projects. A good design helps prevent costly mistakes down the road.

Understand Material Costs and Quantities

How to Budget for a Hardscaping project materials natural stoneMaterial selection is one of the biggest factors in your overall hardscaping budget. Common hardscape materials include:

  • Natural stone (e.g., limestone, flagstone)
  • Interlocking pavers
  • Stamped or poured concrete
  • Brick

We source much of our stone from Ed’s Concrete in Stratford.

When pricing materials, factor in:

  • Cost per square foot or per unit
  • Delivery fees (especially for heavy materials)
  • Added features like edging, inlays, or drainage systems

Choosing higher quality or low-maintenance materials may increase your upfront cost but reduce long-term maintenance.

Consider Installation and Labor Costs

hardscaping budget installation and labourProfessional landscaping installation ensures durability and longevity, especially in climates with freeze-thaw cycles like Ontario’s. Your total cost will depend on:

  • Site preparation needs (excavation, demolition, leveling)
  • Project complexity and timeline
  • Equipment use (such as excavators, compactors, or cutting tools)

If you’re considering DIY installation, don’t forget to budget for tool rentals, material delivery, and your own time. Keep in mind that mistakes made during installation can be expensive to fix later.

Don’t Forget Ongoing Maintenance Costs

hardscaping budget maintenance costs stone patioEven the most durable hardscapes need periodic upkeep. As you budget, plan for:

  • Cleaning and sealing surfaces every few years
  • Replacing polymeric sand between pavers
  • Fixing drainage issues or settling over time
  • Occasional repairs or realignment of stones or bricks

Opting for durable, low-maintenance materials now can reduce long-term costs and effort.

Use a Phased Approach to Manage Costs

If your dream design is more than your current landscaping budget allows, consider completing your project in phases. This staged approach helps you:

  • Spread out expenses over several seasons or years
  • Focus on the most essential features first
  • Adjust future phases based on your needs and preferences

Example of a phased hardscape installation:

  • Year 1: Build the patio and foundation elements
  • Year 2: Add pathways, retaining walls, or stairs
  • Year 3: Install lighting, gardens, and decorative features

Create a Hardscape Budget That Works for You

A well-planned hardscaping project can add long-term value, functionality, and beauty to your property. By considering design, materials, labor, and maintenance—and by phasing the work if needed—you can make smart decisions that align with your vision and your wallet.

Ready to bring your outdoor space to life? Contact A Touch of Dutch Landscaping today to schedule a consultation and start planning your hardscaping project with confidence.

Increase the Usability of Your Yard

Increase the Usability of Your Yard

Landscaping is often seen as an aesthetic endeavor, but it’s much more than that. Properly designed landscaping can significantly increase the usability of your yard, turning it into a functional space for relaxation, entertainment, and everyday living. Whether you have a small urban backyard or a sprawling suburban garden, thoughtful landscaping can transform your outdoor area into an extension of your home. Here are some ideas and tips to help you achieve a practical and beautiful yard.

Assess Your Needs and Wants

Increase the Usability of Your BackyardBefore you start any landscaping project, it’s crucial to understand what you want from your yard. Consider the following questions:

  • Do you need a play area for children?
  • Are you looking to create an outdoor dining space?
  • Do you want to grow your own vegetables or herbs?
  • Are you interested in creating a habitat for local wildlife?

Identifying your priorities will guide your landscaping decisions and help you create a yard that meets your practical needs.

Define Functional Zones

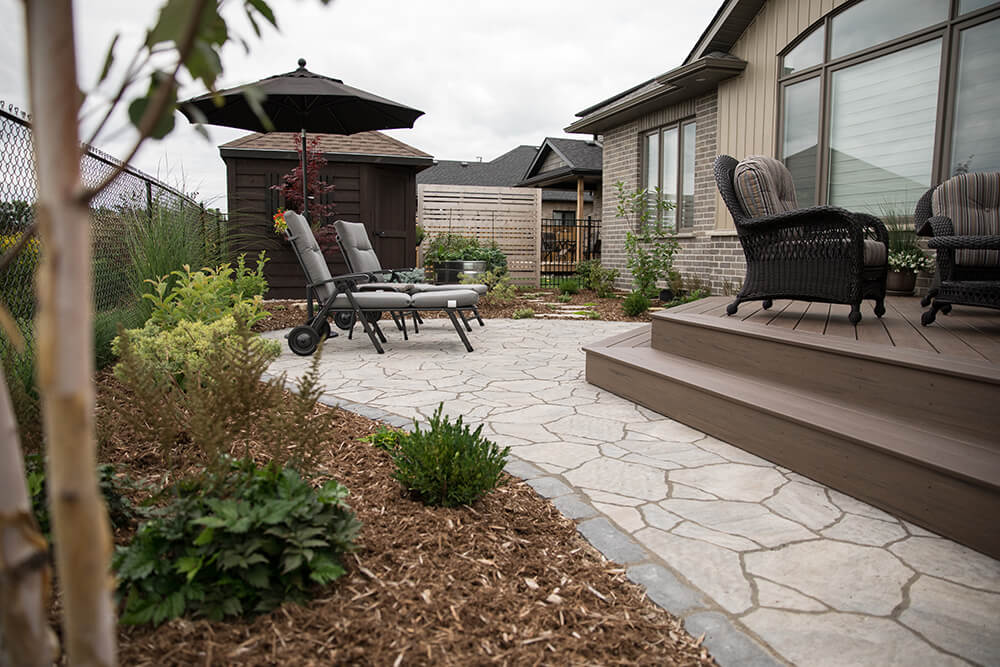
Outdoor relaxation sitting area a touch of dutch landscapingDivide your yard into functional zones based on your identified needs. For example:

  • Play Zone: A safe, open area with soft ground cover, such as grass or rubber mulch, for children to play.
  • Dining and Entertaining Zone: A patio or deck with seating, a dining table, and possibly a grill or outdoor kitchen.
  • Garden Zone: Raised beds or designated plots for growing vegetables, herbs, and flowers.
  • Relaxation Zone: A quiet corner with comfortable seating, a hammock, or a water feature for relaxation.

Creating distinct zones ensures that each area serves a specific purpose and helps organize the space efficiently.

Incorporate Pathways

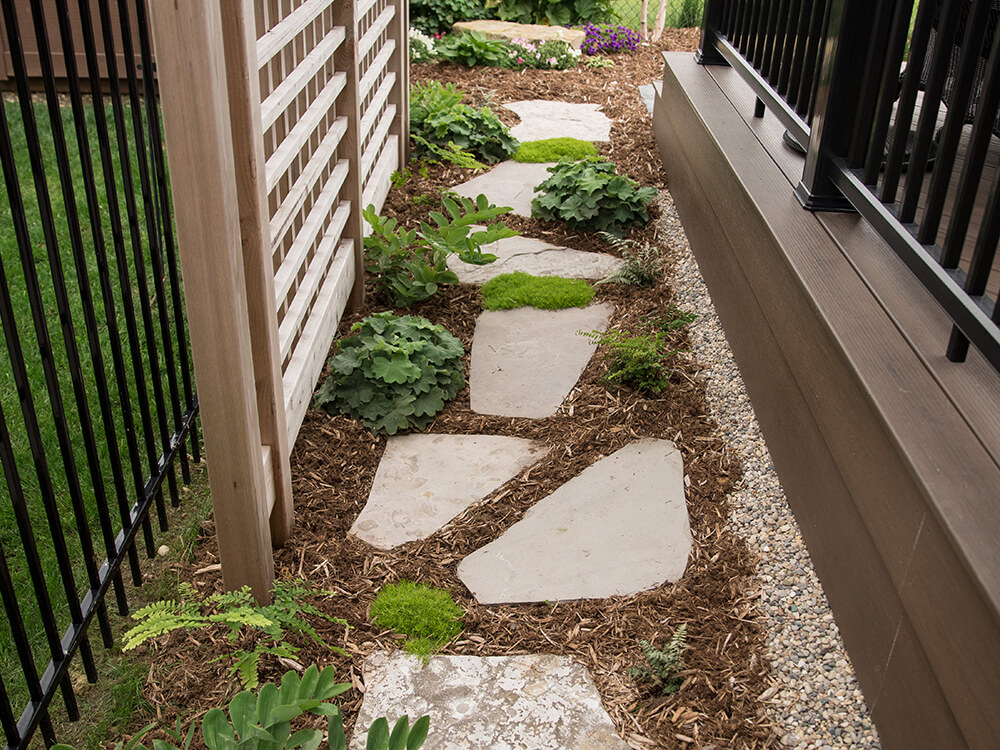
Add natural stone pathways to backyard to increase usabilityPathways are essential for navigating your yard comfortably and safely. They connect different zones and add structure to your landscape. Choose materials that complement your yard’s style, such as natural stone, gravel, or pavers. Make sure the paths are wide enough for easy movement and, if necessary, accessible for strollers or wheelchairs.

Take Advantage of Vertical Space

Maximize your yard’s usability by leveraging vertical space. This is particularly useful for small yards where horizontal space is limited. Consider the following ideas:

  • Vertical Gardens: Use trellises, wall-mounted planters, or vertical garden systems to grow plants upwards instead of outwards.
  • Climbing Plants: Train climbing plants like ivy, roses, or clematis to cover fences, walls, or pergolas, adding greenery without taking up ground space.
  • Hanging Baskets: Add hanging baskets for flowers or herbs to free up ground space while adding beauty and functionality.

Choose Multi-Functional Elements

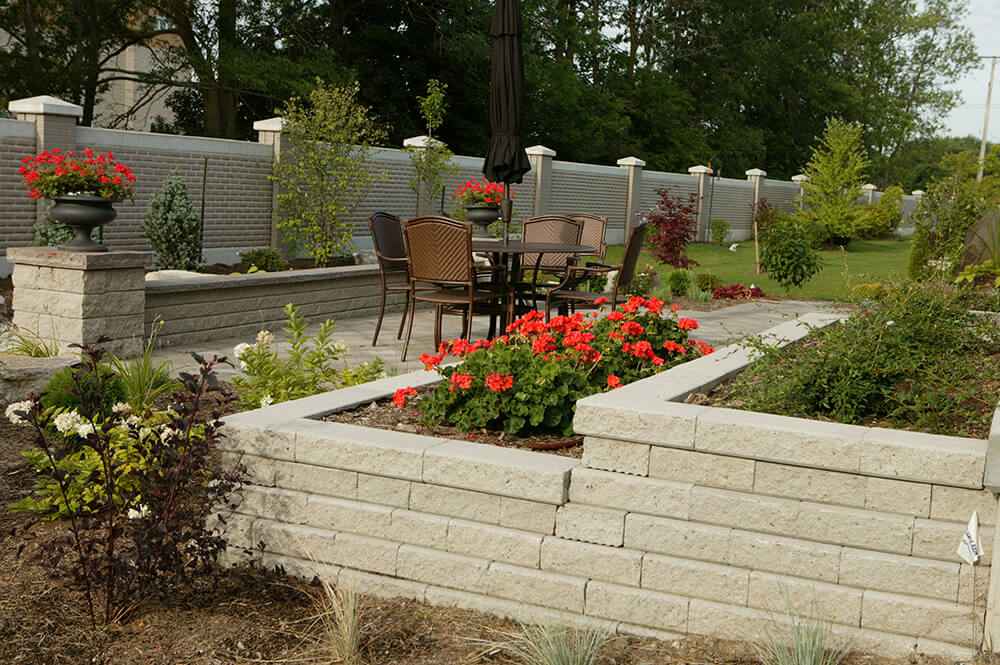
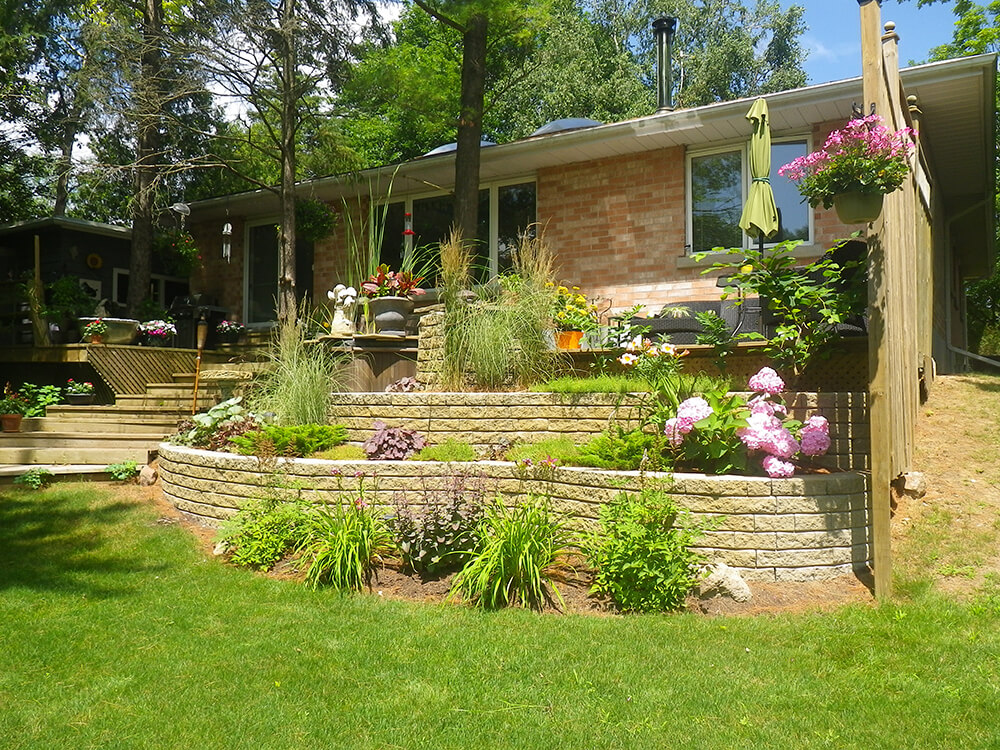
Multifunctional landscaping elements retaining wall with raised flowerbedsOpt for landscaping elements that serve multiple purposes to make the most of your space. Some examples include:

  • Seating Walls: Low retaining walls can double as seating areas during gatherings.
  • Planter Benches: Benches with built-in planters provide seating and greenery.
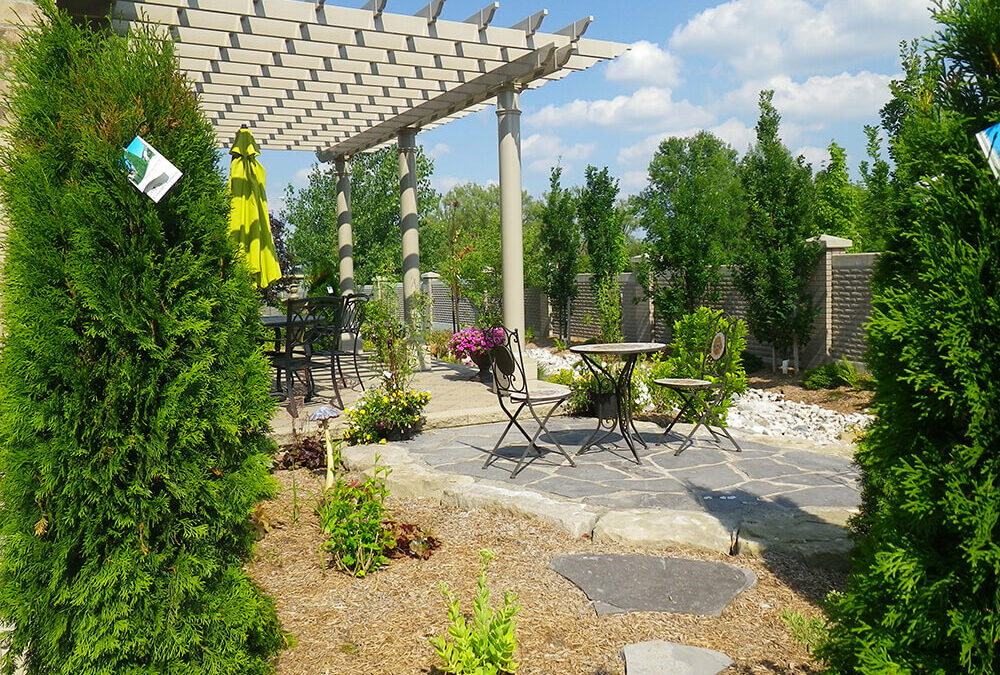
  • Pergolas: Pergolas can offer shade, support climbing plants, and define outdoor rooms.

Install Water Collection and Efficient Irrigation Systems

An efficient irrigation system ensures your plants get the right amount of water without wasting resources. Consider drip irrigation or soaker hoses for garden beds, and opt for smart irrigation controllers that adjust watering schedules based on weather conditions. Efficient watering not only keeps your plants healthy but also saves you time and effort.

Embrace Low-Maintenance Landscaping

Low-maintenance landscaping with perennialsLow-maintenance landscaping allows you to enjoy your yard without spending all your free time on upkeep. Here are some tips:

  • Choose Native Plants: Native plants are adapted to your local climate and soil, requiring less water and maintenance.
  • Use Mulch: Mulching garden beds helps retain moisture, suppress weeds, and improve soil health.
  • Opt for Perennials: Perennial plants come back year after year, reducing the need for replanting.

Add Lighting

Outdoor lighting extends the usability of your yard into the evening and enhances safety and security. Consider the following options:

  • Path Lights: Illuminate pathways to prevent trips and falls.
  • String Lights: Add a warm, inviting glow to seating and dining areas.
  • Spotlights: Highlight key features, such as trees, sculptures, or water features.

Create Privacy

Privacy is essential for a comfortable and enjoyable yard. Create privacy by using fencing, hedges, or screens to create secluded areas. Tall plants, trellises with climbing vines, or decorative panels can also add privacy without making the space feel closed off.

Incorporate Sustainable Practices

Sustainable landscaping practices benefit both your yard and the environment. Some ideas include:

  • Rainwater Harvesting: Collect rainwater in barrels for use in irrigation.
  • Composting: Compost kitchen scraps and yard waste to create nutrient-rich soil for your garden.
  • Xeriscaping: Use drought-tolerant plants to reduce water consumption.

By thoughtfully designing your landscape with functionality in mind, you can create a yard that enhances your lifestyle and meets your practical needs. Whether you’re looking to entertain, grow your own food, or simply relax, a well-planned yard can become a valuable extension of your living space. Happy landscaping!

Would you like more specific tips or information on any particular aspect of yard landscaping? Contact us for professional landscaping services.

Principles of Hardscaping

Principles of Hardscaping

principles of hardscaping stairs walkway interlocking stoneHardscaping – the art of landscaping with non-living elements – adds structure, functionality, and aesthetic appeal to outdoor spaces. Doing the job right requires an understanding of the principles of hardscaping, careful planning, and attention to detail.

From patios and pathways to retaining walls and driveways, hardscaping can transform a mundane backyard into a beautiful and usable oasis. In this guide, we’ll delve into the principles and steps involved in hardscaping, along with common mistakes that DIYers make.

Principles of Hardscaping

hardscaping walkway driveway cobblestone natural stoneFunctionality

Before diving into the design, we consider the intended use of the hardscaped area. Whether it’s for entertaining guests, relaxing, or enhancing curb appeal, functionality primarily guides the layout and material choices.

Unity and Harmony

Hardscaping elements should complement the existing landscape and architectural features. We aim for a cohesive design that integrates seamlessly with the surroundings.

Balance

hardscaping walkway precast flagstone alternativeOur designs achieve visual balance by distributing hardscape elements evenly throughout the space. Balance is achieved through symmetry, asymmetry, or radial patterns, depending on the desired aesthetic.

Proportion and Scale

We also focus on maintaining proper proportion and scale to ensure that hardscape elements are not overpowering or overshadowed by the surrounding landscape. If there are existing structures, we consider the scale of those other elements and the size of the area overall when selecting materials and designing layouts.

Durability and Maintenance

Our recommendation is to select durable materials that can withstand the local climate and require minimal upkeep. Proper maintenance is essential for preserving the integrity and appearance of hardscape features over time.

Steps Involved in Hardscaping

Site Assessment

hardscaping walkway driveway The first step is an evaluation of the site to identify existing features, such as slopes, drainage patterns, and utility lines, that may impact the hardscaping design. Factors like sun exposure, soil conditions, and access points will impact the layout.

Design Development

Then, we’ll sketch out the desired hardscape elements, taking into account the principles of hardscaping discussed earlier. Our design team then uses purpose-built software to create detailed plans and visualizations.

Material Selection

Keeping a customer’s budget in mind, hardscaping materials – mainly natural stone or precast products – are selected to complement the design aesthetic while meeting practical requirements such as durability, slip resistance, and maintenance needs.

Preparation

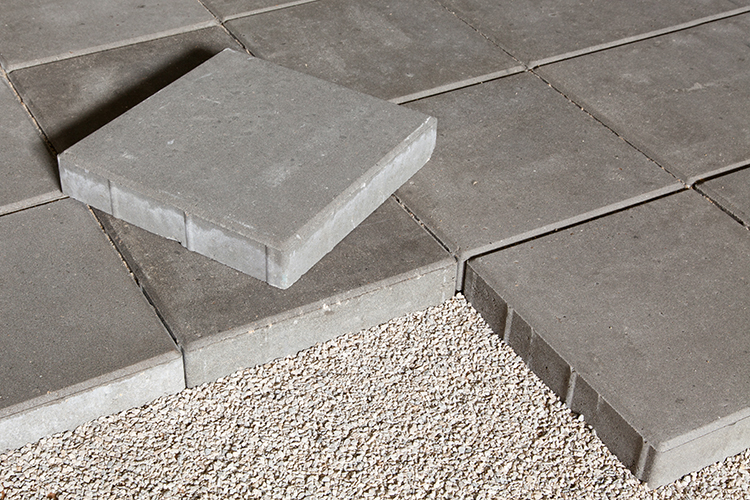
natural stone walkway river rock hardscapingWhen the planning is complete, we begin preparing the site by clearing vegetation, grading the terrain, and addressing any drainage issues. Hardscaping projects require a sturdy base, such as crushed stone or gravel, to provide a stable foundation for hardscape features like patios and pathways.

Installation

Adhering to the plan as well as industry best practices, our hardscaping crew begins installation. To ensure proper alignment, spacing, and compaction, the team uses appropriate tools and techniques.

Finishing Touches

Finishing touches such as edging, lighting, and softscaping are added when desired to enhance the visual appeal and functionality of the hardscaped area.

Common DIY Mistakes

Skipping Site Assessment

Neglecting to assess the site can lead to issues like poor drainage, uneven surfaces, and conflicts with utility lines.

Overlooking Design Principles

Failing to consider principles like functionality, unity, and proportion can result in a haphazard or unbalanced hardscape design.

Poor Material Selection

Choosing materials based solely on aesthetics without considering durability, maintenance requirements, and suitability for the site can lead to premature deterioration and costly repairs.

Inadequate Preparation

Rushing through site preparation and base installation can compromise the stability and longevity of hardscape features, leading to issues like settling, cracking, and drainage problems.

Improper Installation Techniques

Incorrect installation techniques, such as improper compaction, inadequate joint spacing, and poor alignment, can result in uneven surfaces, instability, and structural failure.

Neglecting Maintenance

Failing to properly maintain hardscape features, including regular cleaning, sealing, and/or repairs, can diminish their appearance and lifespan.

While there are some aspects of landscaping that homeowners can tackle themselves, the labour-intensive and complex nature of hardscaping makes it more difficult for DIYers to get right. Whether you’re planning on a small patio project or a complete backyard makeover, contact us for professional, beautiful, and long-lasting results.

Post-Pandemic Landscaping Trends That Are Here to Stay

Post-Pandemic Landscaping Trends That Are Here to Stay

The COVID-19 pandemic brought about a seismic shift in how we perceive and utilize our living spaces. As people spent more time at home, the importance of creating functional and beautiful outdoor environments became evident. While the pandemic itself is receding, the impact it had on our lifestyles and preferences is not going away. This is clearly reflected in the enduring landscaping trends that have emerged in the wake of the crisis. Here, we explore the post-pandemic landscaping trends that are here to stay.

Outdoor Living Rooms

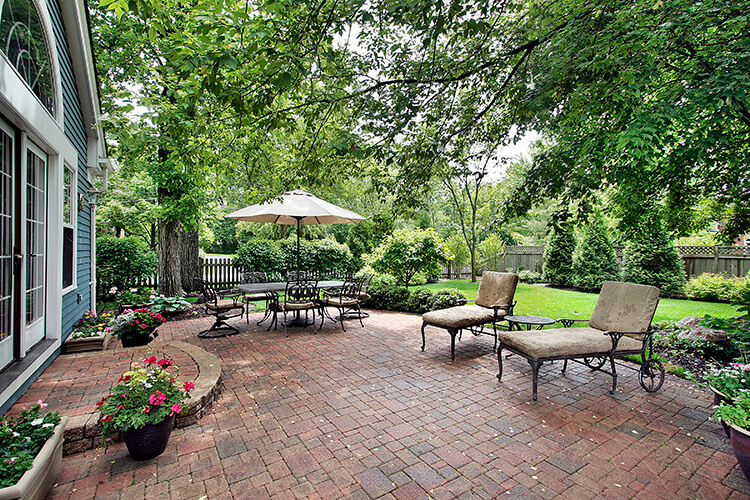
outdoor living rooms landscaping hardscapingThe concept of outdoor spaces as extensions of our homes gained immense popularity during the pandemic and is set to remain a staple in landscaping. Outdoor living rooms equipped with comfortable seating, weather-resistant furniture, and even fully functional kitchens have become the new norm. People are realizing that their gardens or backyards can serve as a retreat for relaxation, entertainment, and remote work.

Multipurpose Gardens

Beyond aesthetics, gardens are now being designed with functionality in mind. Multipurpose gardens that incorporate edible plants, such as vegetables, fruits, and herbs, offer a sustainable way to supplement household groceries. This trend reflects a broader movement towards self-sufficiency and a desire to connect with nature through hands-on activities like gardening.

Wellness Retreats

The pandemic prompted a heightened focus on mental and physical well-being. As a result, landscapes are being transformed into wellness retreats. Meditation labyrinths and corners, yoga decks, and serene water features create tranquil spaces for relaxation and self-care. This trend underscores the growing understanding of the positive effects that nature can have on our overall health.

Native Plant Landscaping

post-pandemic landscaping trends

Sustainable and low-maintenance landscaping practices have gained traction, with native plants taking center stage. These plants are adapted to the local environment, requiring less water and minimal upkeep. The trend toward native plant landscaping aligns with the broader global movement to conserve biodiversity and support local ecosystems.

Tech-Integrated Outdoors

Technology has permeated every aspect of our lives, and the outdoors are no exception. Smart irrigation systems, outdoor lighting controlled via mobile apps, and even automated lawn mowers are becoming commonplace. This integration of technology enhances convenience and efficiency in maintaining outdoor spaces.

Staycation-Focused Design

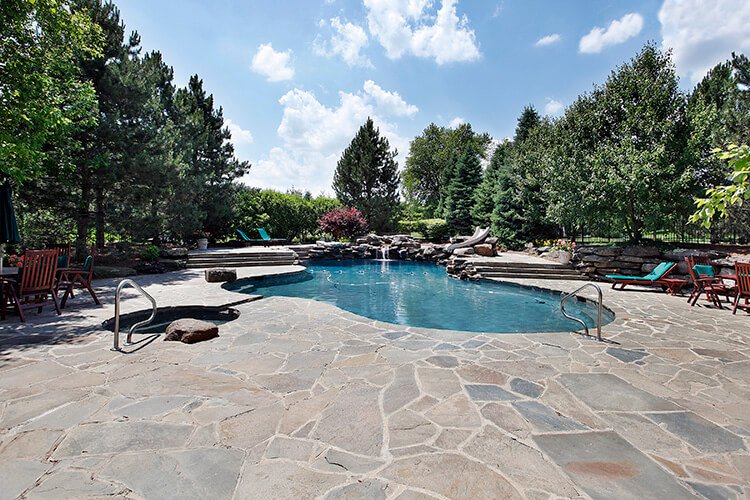
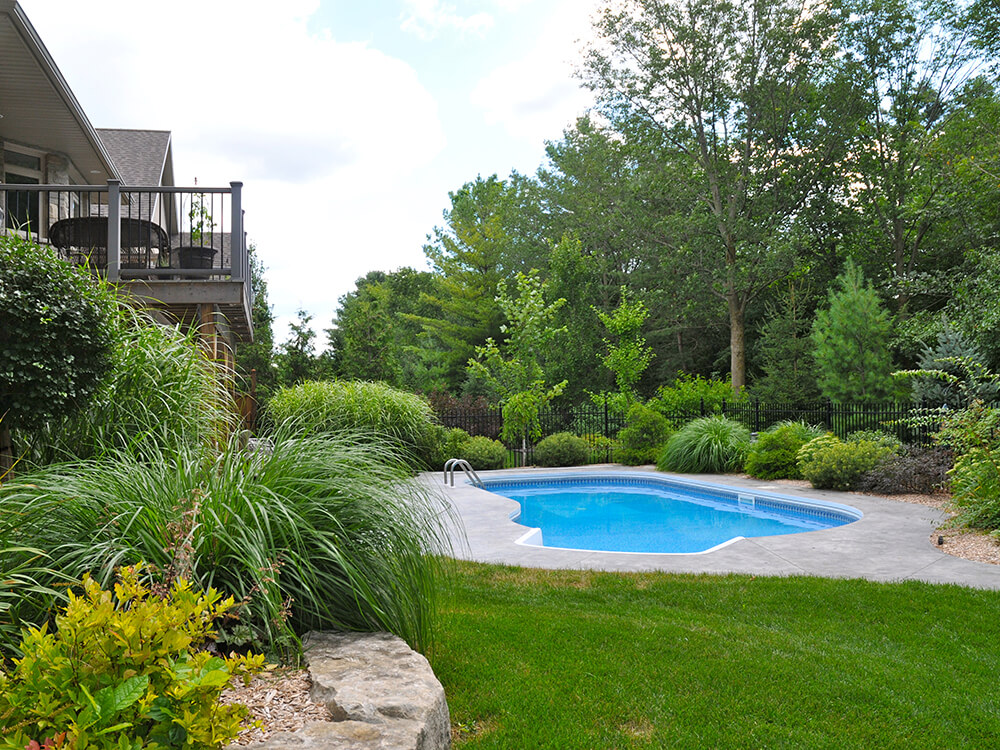
Travel restrictions and safety concerns prompted a renewed appreciation for the beauty of one’s own surroundings. Staycation-focused landscaping designs, featuring resort-like amenities such as swimming pools surrounded by lush landscaping, fire pits, and hot tubs, are likely to continue. These spaces provide an escape without leaving the comfort of home.

Eco-Friendly Landscaping

Environmental consciousness has led to an increased demand for eco-friendly landscaping practices. Rainwater harvesting systems, permeable paving, and xeriscaping (landscaping that requires minimal water) are becoming staples in modern outdoor design. This trend reflects a collective commitment to minimizing the ecological footprint of our living spaces.

Outdoor Workspaces

outdoor kitchen hardscaping patio hardscapingRemote work arrangements prompted a need for adaptable workspaces, and outdoor settings proved to be both refreshing and conducive to productivity. As hybrid work models persist, the integration of outdoor workspaces—whether it’s a shaded patio corner or a garden gazebo—will remain relevant.

The pandemic reshaped our relationship with our living spaces, elevating the importance of the great outdoors. The landscaping trends that emerged during this time are not fleeting fads; they signify a lasting transformation in the way we perceive, design, and use our outdoor environments. From functional outdoor living spaces to sustainable practices and wellness-oriented designs, these trends offer a glimpse into a future where our connection to nature is more profound and holistic than ever before.

Want help upgrading your landscaping? Contact us.

Landscaping with Natural Stone

Landscaping with Natural Stone

Creating a beautiful outdoor space often involves finding the perfect balance between functionality and aesthetic appeal. Landscaping with natural stone helps elevate outdoor spaces in terms of both beauty and practicality.

Whether you’re aiming to build a beautiful pathway, add a captivating focal point, or design an entire landscape, natural stone options such as flagstone, armour stone, and river rock can transform your outdoor environment into a mesmerizing retreat. In this blog post, we’ll explore the diverse uses and characteristics of these three popular natural stones, offering insights into how they can elevate your landscaping projects.

Flagstone: Timeless Beauty and Versatility

stratford landscaping hardscaping flagstone patioFlagstone, characterized by its relatively flat, irregular-shaped slabs, is a timeless choice for adding elegance and functionality to your landscape design. This type of natural stone is available in various colors, including earthy browns, grays, and blues, offering a wide range of options to suit your aesthetic preferences.

Pathways
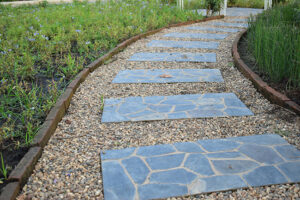
Flagstone can be used to create visually appealing and durable pathways throughout your garden or yard. By arranging these flat stones in a natural or geometric pattern, you can achieve a unique and inviting path.

Patios
Transforming a bland outdoor area into a captivating patio is effortless with flagstone. Its natural texture and color variations provide a rustic charm, while its durability makes it an excellent choice for outdoor living spaces like patios.

Stepping Stones
Create a whimsical and enchanting garden by strategically placing flagstone stepping stones amidst lush greenery. These irregularly shaped stones add character and functionality, guiding visitors through your landscape while preserving its natural beauty.

Armour Stone: Majestic and Enduring

Hardscaping - walkway with stepping stones and armour stone retaining wallArmour stone is a heavyweight natural stone renowned for its strength and durability. These large, rugged stones bring a sense of grandeur to any landscape and are commonly used for creating retaining walls, borders, and eye-catching focal points.

Retaining Walls
Armour stones are ideal for building sturdy and visually striking retaining walls. Their substantial size and weight provide stability while adding a touch of natural beauty to your landscape. These walls help prevent soil erosion, level uneven terrain, and create distinct planting areas.

Garden Edging
Utilize armour stone to define garden beds, pathways, or driveways. The imposing presence of these stones adds an element of sophistication and serves as a functional barrier, protecting your plantings and preventing soil displacement.

Water Features
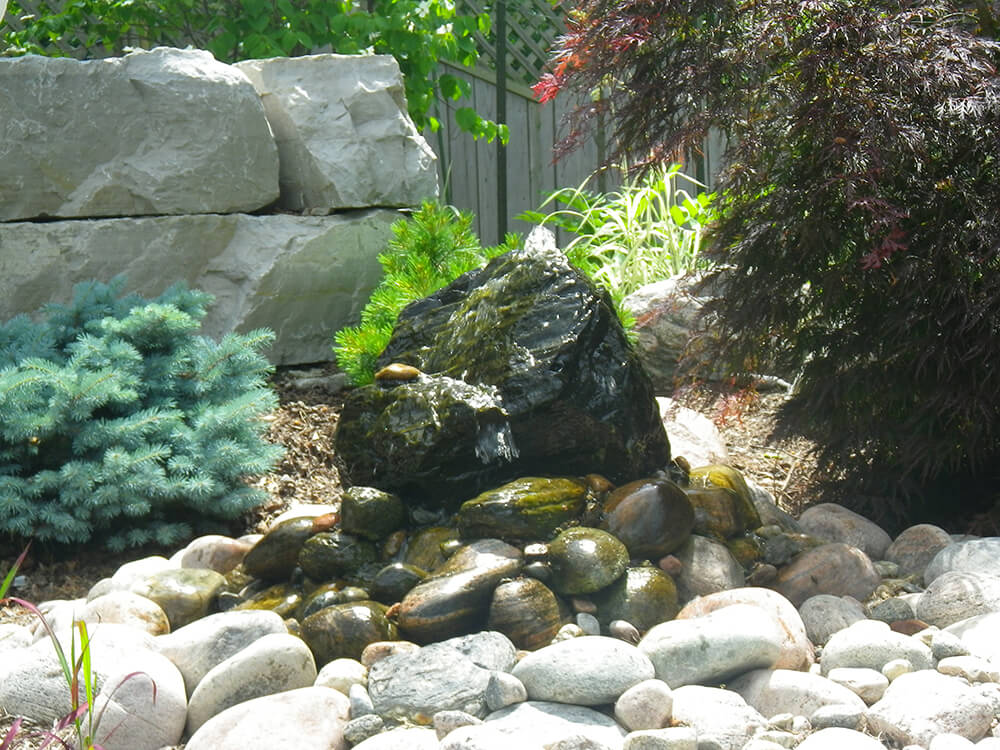
Incorporating armour stones into water features, such as cascading waterfalls or natural-looking ponds, can create a captivating oasis in your garden. The rough texture and natural colors of these stones enhance the visual appeal of your water feature, evoking a serene and peaceful atmosphere.

River Rock: Serene Simplicity and Versatile Charm

Pondless stream using natural river rock by A Touch of Dutch LandscapingRiver rock, also known as river stones or pebbles, is a smooth natural stone typically found in riverbeds. Its unique rounded shape and earthy, soothing colors make it an excellent choice for enhancing various aspects of your landscape.

Ground Cover
Use river rock as a ground cover to create a low-maintenance and visually appealing landscape. Its smooth texture and uniformity offer a soothing backdrop for vibrant plants and flowers while preventing weed growth.

Dry Creek Beds
Mimic the beauty of a meandering stream by incorporating river rock into a dry creek bed. This decorative feature adds visual interest and can be used in xeriscaping projects. But they can also be functional, directing rainwater from rain barrels, eavestroughs, or reservoirs into beds, improving drainage in areas prone to flooding.

Waterless Ponds
River rock can be arranged in a layered manner to resemble the bottom of a pond or lake. This creative landscaping idea provides a unique focal point, adding depth and texture to your outdoor space without the need for water.

Pondless Streams and Waterfalls
The soothing sights and sounds of gently flowing water can be achieved in your own backyard. To create a pondless stream or waterfall, river rock is assembled down a slope and recirculating water cascades down the rock into an underground reservoir, where it’s pumped back to the top of the water feature.

Landscaping with natural stone opens up a world of possibilities for creating a captivating outdoor space that harmonizes with nature. Its timeless beauty, versatility, and durability make natural stone an ideal choice for pathways, patios, retaining walls, and other landscaping elements.

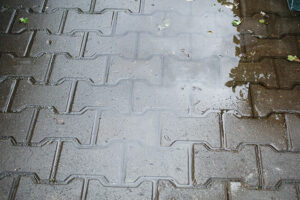
Natural stone is a permeable option that can benefit the environment by preventing runoff or pooling standing water. With increasing frequency and amounts of rain, permeable solutions work by allowing water to pass through joints and filter it back into the ground alleviating pressure on rivers and storm sewers. Permeable options can also reduce heat by counteracting how they absorb and emit the sun’s heat over traditional paving.

Whether you prefer a formal garden or a rustic retreat, natural stone can be adapted to suit your style and preferences, breathing life into your outdoor oasis. Planning a landscaping upgrade? Visit our Project Gallery for ideas and inspiration. And if you’d prefer to have a professional design and/or installation, contact us.