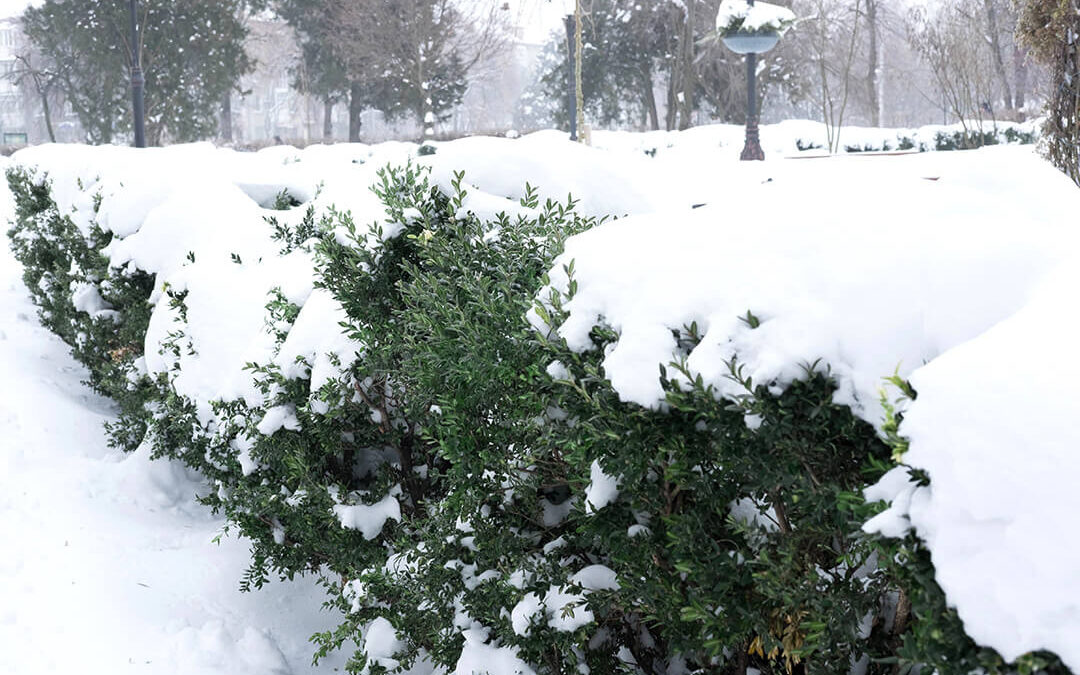
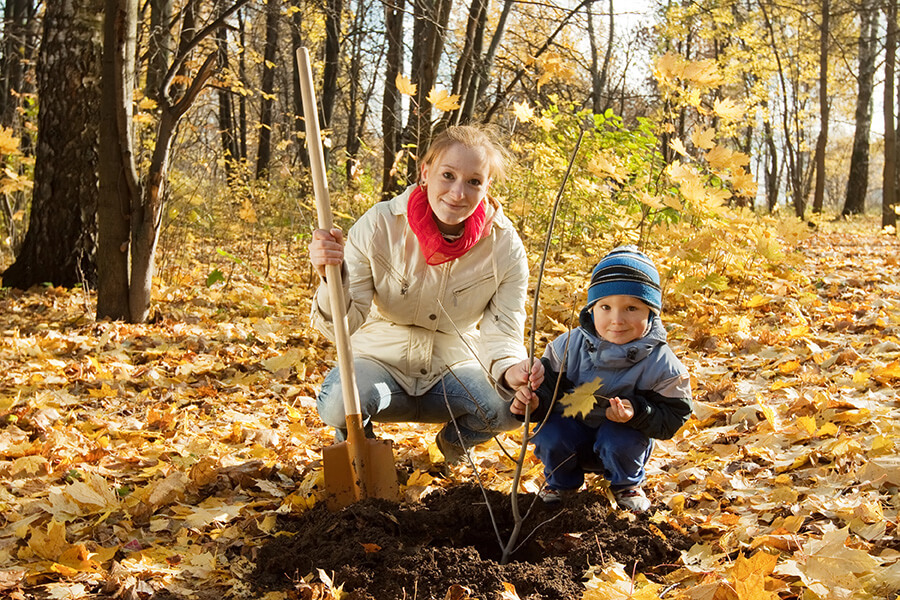
Should I Remove Snow from Trees and Shrubs?
Winter can be tough on trees and shrubs, especially when heavy snow and ice accumulate. While snow can provide some insulation against freezing temperatures, too much weight can lead to broken branches, bent shrubs, and even long-term damage to your landscape. Knowing when to remove snow from trees and shrubs, how to protect your plants, and how to assess winter damage can help you keep your trees and shrubs healthy all season long.
Proactive Ways to Protect Trees and Shrubs from Winter Damage
 Choose the Right Plants
Planting trees and shrubs suited to your climate is the first step to reducing winter damage. Native species or those hardy to your zone are better equipped to handle the weight of snow and ice.
Use Burlap or Protective Wraps
For smaller trees and delicate shrubs, wrapping them in burlap or protective fabric can shield branches from snow, wind, and ice buildup. This is especially useful for evergreens, which hold onto snow more than deciduous trees.
Install Supports for Vulnerable Branches
Multi-stemmed shrubs, like arborvitae or junipers, often splay open under heavy snow. Use stakes or twine to gently tie stems together before the first snowstorm to help them withstand the extra weight.
Avoid Salt Damage
Salt used to melt ice on driveways and sidewalks can damage nearby trees and shrubs. Use sand or calcium chloride instead, and keep de-icing chemicals away from your landscape.
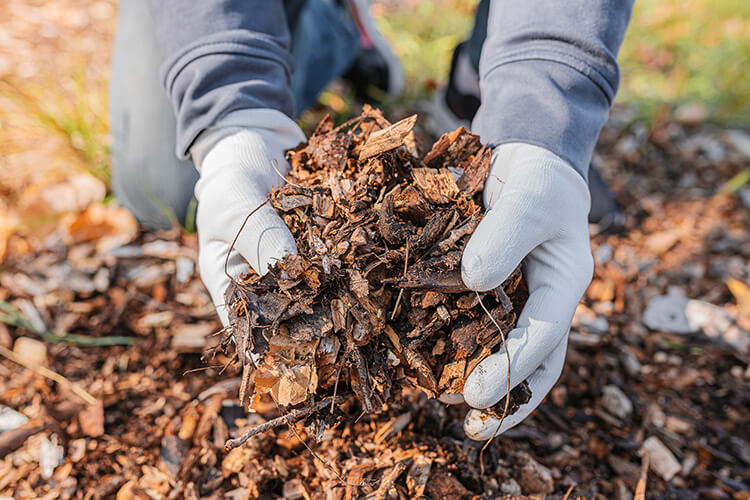
Mulch Around the Base
Apply a layer of mulch (about 2-4 inches thick) around the base of trees and shrubs to help insulate roots and retain moisture during winter freezes and thaws.
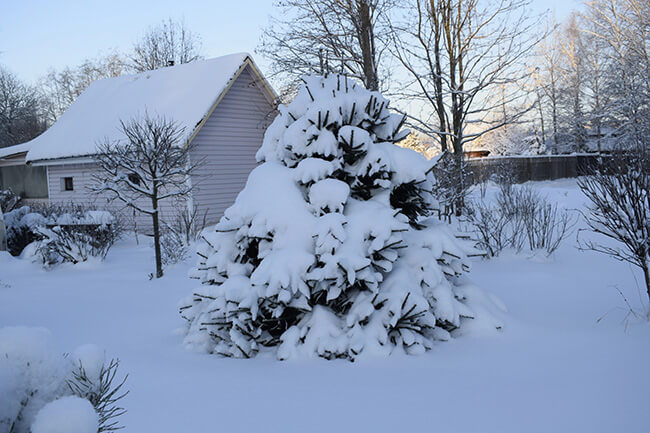
When (and How) to Remove Snow or Ice
 Not all snow or ice needs to be removed. In some cases, it’s better to leave it alone to avoid causing more harm than good.
When to Remove Snow
- If branches are bending dangerously under the weight of snow, it’s time to remove snow from trees and shrubs.
- When snow accumulation is particularly heavy and is causing obvious strain on shrubs or trees.
- For smaller shrubs that may be completely buried under a heavy snowfall.
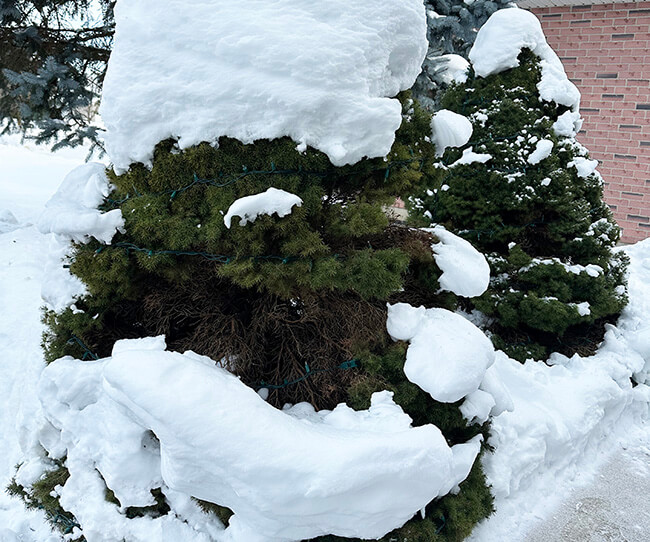
How to Safely Remove Snow:
- Use a broom or soft brush to GENTLY sweep snow off branches. Start from the bottom and work your way up to avoid adding extra weight to lower limbs.
- Avoid using shovels or sharp tools that can damage bark and branches.
- Never shake snow-covered branches, as this can cause them to snap, especially when frozen.
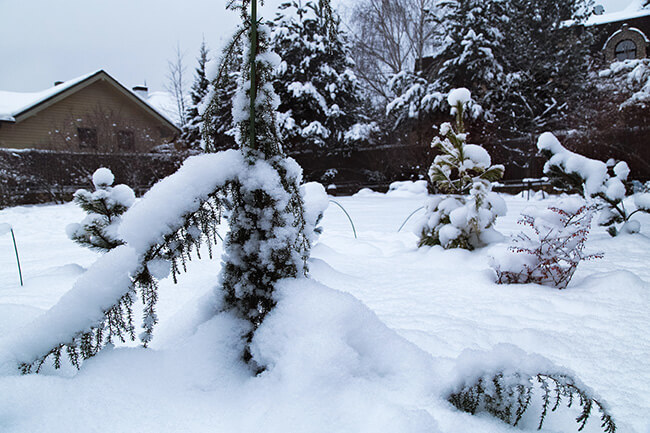
When NOT to Remove Snow
- If the snow is light and fluffy, it generally won’t cause harm and can be left alone.
- If branches are encased in ice, do not attempt to break or remove it. The ice protects the tree temporarily, and attempting to remove it could result in snapped branches or stripped bark.
How to Check for Damage After a Storm
Once the snow and ice have melted or settled, inspect your trees and shrubs for signs of damage:
Look for Broken Branches
Check for cracked, split, or broken limbs that may need pruning.
 Examine the Shape of Shrubs
Some shrubs may remain misshapen after being weighed down by snow. Give them time to bounce back before making adjustments.
Inspect Trunk and Bark Damage
Deep cracks or peeling bark may signal significant stress.
Pruning Tip
Remove broken or damaged branches promptly with clean, sharp pruning tools. Make cuts just outside the branch collar to help the plant heal properly.
When It Might Be Necessary to Replace a Tree or Shrub
Sometimes, despite your best efforts, a tree or shrub may suffer irreparable damage. Here are signs it may be time to replace it:
Severe Structural Damage
If more than 50% of a tree’s branches are broken or the trunk is split, the tree may not recover.
Permanent Leaning
If a tree or shrub has been pushed significantly out of position, its root system may be compromised.
Continued Poor Health
If a tree or shrub fails to leaf out in spring or shows signs of decline like dieback or stunted growth, it may not recover.
When replacing a damaged tree or shrub, consider selecting a hardier variety better suited to your winter conditions.
Protecting trees and shrubs during winter starts with preparation, but knowing when and how to remove snow can make all the difference. By being proactive and carefully assessing any damage, you can help your landscape survive the season and thrive come spring. If you’re ever unsure whether a tree or shrub is salvageable, consider consulting an arborist or landscaping professional for advice.
With the right care, your winter landscape can remain healthy, beautiful, and resilient year after year!

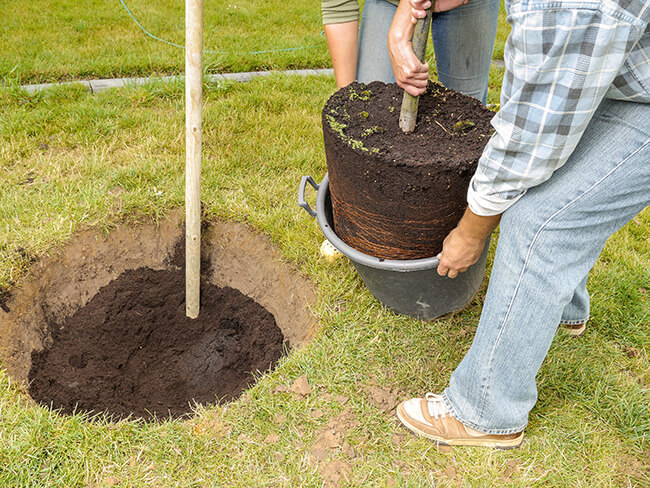 Initial Watering: Immediately after planting or transplanting, water the tree thoroughly. This helps settle the soil and eliminate air pockets around the roots.
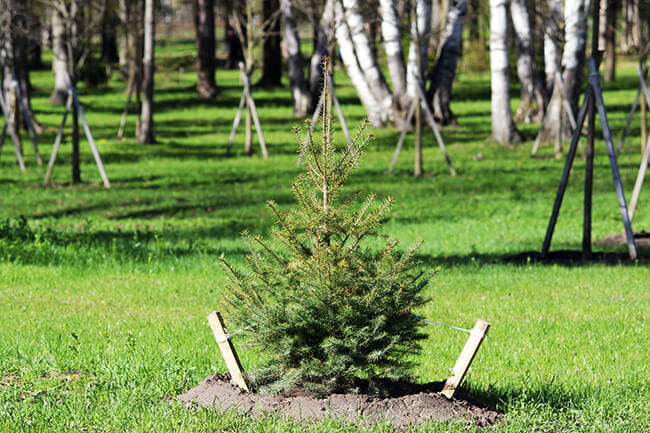 When to Fertilize: Avoid fertilizing immediately after planting. Wait until the tree shows signs of new growth, which indicates it has begun to establish its roots.
 Staking: Young trees may need to be staked to protect them from strong winds, especially in exposed areas. Use flexible tree ties that allow some movement, promoting a stronger trunk.
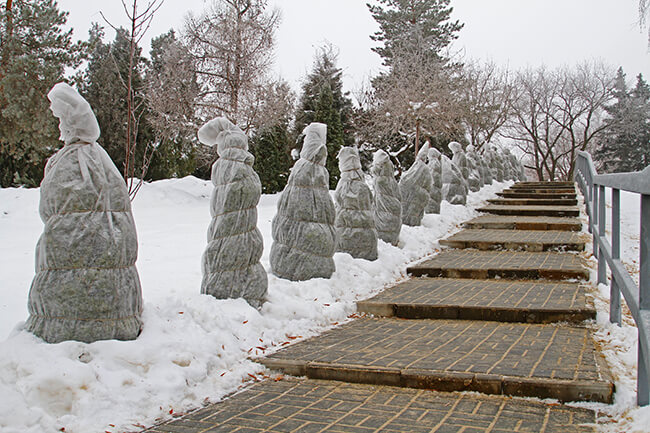 Frost Protection: In areas prone to frost, new
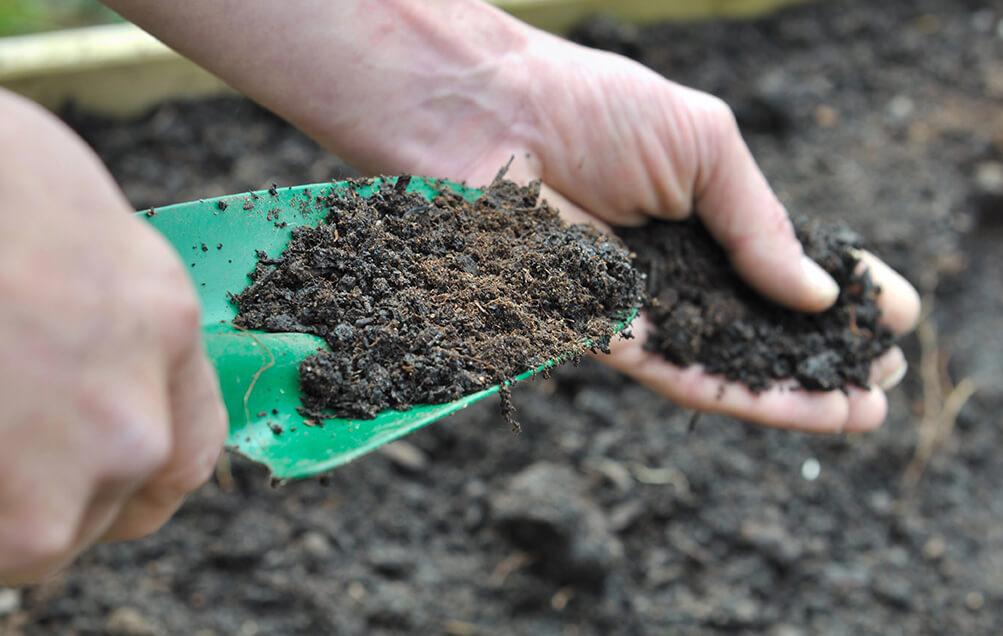
 Clay soil is dense and can retain excess water, leading to poor drainage and root rot. Here are some
 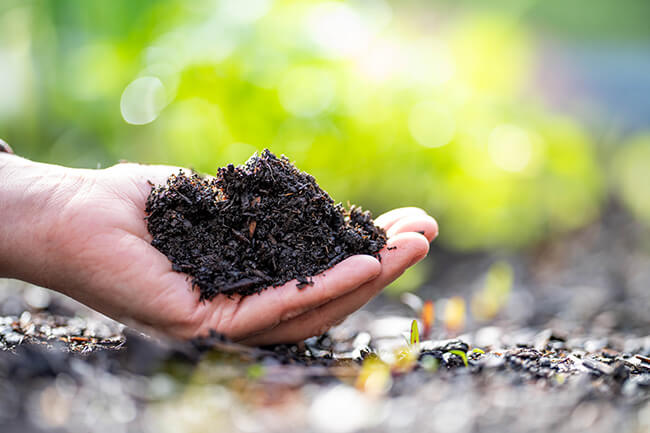 The pH level and nutrient content of your soil are crucial for plant health. Here’s how to adjust them:
 Before you start any landscaping project, it’s crucial to understand what you want from your yard. Consider the following questions:
 Divide your yard into functional zones based on your identified needs. For example:
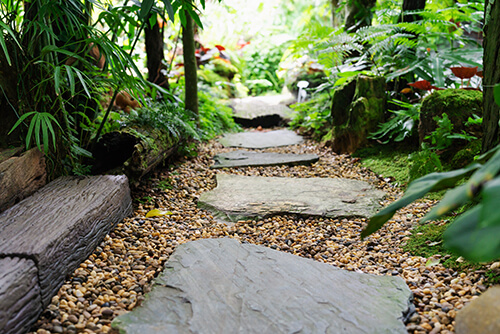 Pathways are essential for navigating your yard comfortably and safely. They connect different zones and add structure to your landscape. Choose materials that complement your yard’s style, such as
  Opt for landscaping elements that serve multiple purposes to make the most of your space. Some examples include:
 Low-maintenance landscaping
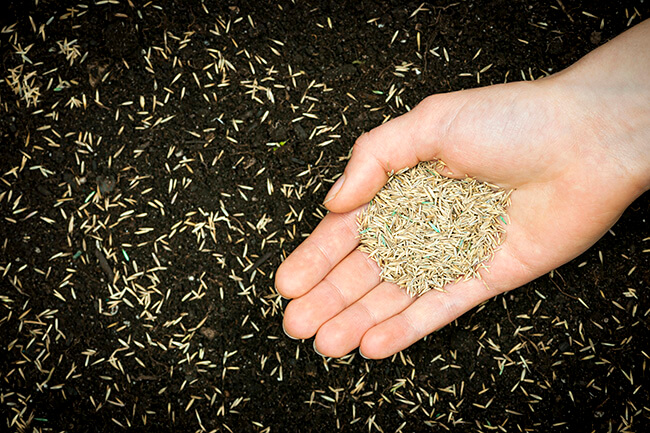 Seeding involves planting grass seed directly into the soil and allowing it to grow and establish over time. Here are some advantages of seeding:
 Sodding involves laying down pre-grown grass turf, complete with roots and soil, onto prepared soil. Here are some advantages of sodding: